Hi Jeff,
First off, you can measure the rough opening inside the camper and not go up on the roof, or take up the old skylight.
Go in the shower and look up. There should be a steam dome inside the camper with some screws that hold it into the ceiling. That steam dome is not part of the outside skylight. Take those screws out and look up.. It will look like this. You can then see the rough opening and the actual inside of the skylight mounted to the roof. You can check the rough opening then

This is the replacement skylight I use by ICON. ICON RV Skylight - SL1422W - White. They have very good quality and are not thin and flimsy like I see being used on new campers. I get the white to help shed some of the sun UV and light from coming in. The clear lets a lot of sun & UV in and that can damage the shower faster over time from all the UV rays. The smoke one in my view, absorbs a lot of heat and may not last as long. But it is your choice.
https://www.icondirect.com/rectangle-skylights/
Amazon does sell them often cheaper then buying direct. And other places. Here is the Amazon one.
https://www.amazon.com/gp/product/B0...0?ie=UTF8&th=1
You will notice it is 18 x 26 on the outside. It is a little bigger then your original but different brands are slightly different and this one works well. The screws holes will not match, but you can put new screw holes in. They list a 14 x 22 as the dome, the inner part, but that may be slightly less or more then your rough opening and still be OK. Check what yours is. If needed, I have 2 spare ones of these in a box in the barn I can check it for you.
Here are a few other helpful tips.
1. You will need a tube of butyl caulk to set the dome. Since the roof is not exactly flat, you apply butyl caulk to the cleaned up roof surface and place the new dome into the caulk. You are basically setting the flat dome in a pile of caulk goo and not rigid to the roof. This helps prevent the stress of flexing the dome and start cracks over time. I use Surebond SB-140 as the butyl caulk.
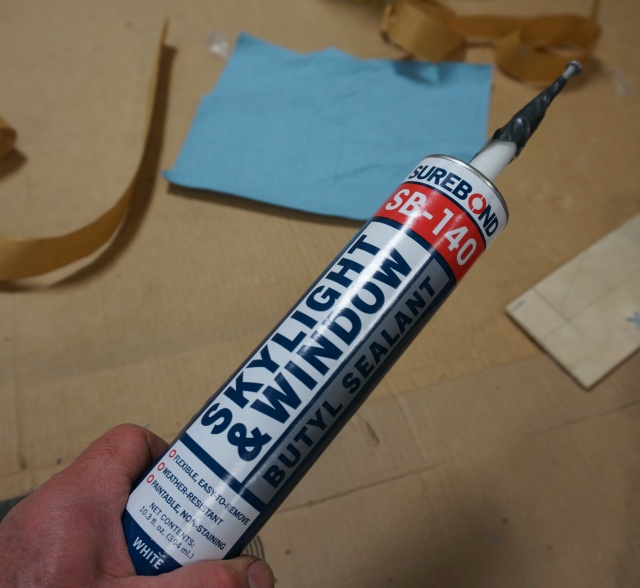
I buy mine here
https://www.bestmaterials.com/detail.aspx?ID=21791
They will charge freight, but it still may be cheaper then Amazon
https://www.amazon.com/SUREBOND-Skyl...7174396&sr=8-3

2. I go an extra step and add stainless fender washer with the screws to help spread out the point pressure stress of the screws. It helps slow down the cracking starting at the screws as time goes on. You can use the drill motor to get the screw close, then gently and by hand, tighten the screws even to gently compress the caulk so that it is an even seal all the way around the dome. Some goo will ozz out on the roof and that is OK. Just try and not put too much butyl caulk close to the inside of the opening so it does not ozz out into the shower basin.

3. Then use Dicor self leveling sealant 501LSW for the caulk over the edges, and screws/washer tops.


Hope this helps
John
__________________
Current Sunlines: 2004 T310SR, 2004 T1950, 2004 T2475, 2007 T2499, 2004 T317SR
Prior Sunlines: 2004 T2499 - Fern Blue
2005 Ford F350 Lariat, 6.8L V10 W/ 4.10 rear axle, CC, Short Bed, SRW. Reese HP trunnion bar hitch W/ HP DC
 Google Custom Search For Sunline Owners Club


 Linear Mode


