Here is my new water pump upgrade. The pump, plumbing connections and location.
Now why did I upgrade? 3 reasons
1st and foremost, I had upgraded to the Flotec 4.5 gpm variable speed pump in the other camper. In that TT I had an issue where the std Shurflo pump ran for several hours dry and came back the smell of hot electrical insulation, not good. The pump sucked an air bubble and then lost prime and will not shut off.
Lesson learned

: Never leave the camper with the pump left on! And after that event the pump would always loose prime. So rather then buying a new wake the dead Shurlfo standard pump, (yes I did try the foam pipe insulation and long flex hoses, still woke the dead) I upgraded to the Flotec VSR. WOW what a difference.

And a variable speed water pump is like a power tongue jack. Once you convert, going back to the old standard generally does not happen.
And the one in the T310 was just as bad if not worse with banging and vibration then the T2499 was. So it was on the upgrade list after the 1st campout.
2nd. Reason. Where they mounted this pump was not a great spot for convenience. There was no anti freeze kit installed and it was buried inside under the cabinet. After blowing out the camper once, I knew this location was not going to work.
3rd. We had 2 campouts last fall when we still had water on and had leaks in the fittings. I did not realize the leak was so huge the first time until after filling the camper with water, turned pump on and it built pressure. And now I have a fold on the floor, under the cabinets, under the furnace, under the shower....

This was right after filling up the camper with water and priming the system so the pump ran a good long time. What a way to start a Friday night campout.

Well I fiddled with the fittings and got it to stop. Then the next campout the same thing happened just not so bad.

I did a quick rework on the hoses to reduce the heavy banging and to try to stop the leak. This mounting and location had to go.
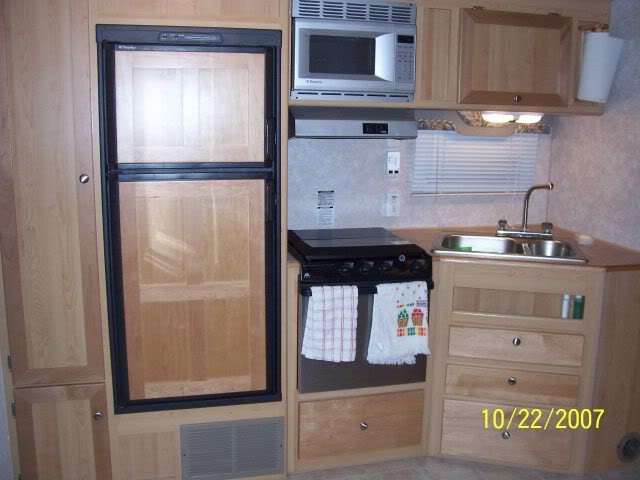
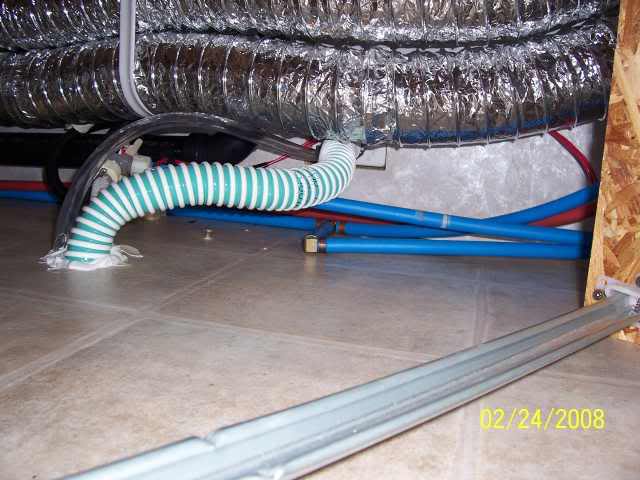
The pump is located behind these draws. Pull out the bottom 2 and there it is. The location it not that bad, it is just where they mounted it on top of everything else that made it so un-user friendly.
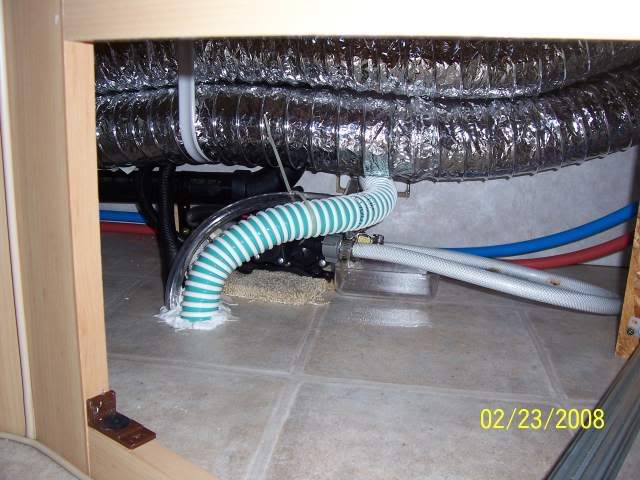
Here are the before pics. The long white hose leaving the pump I added. The original was only 6 long. If you look close you can see red looking spots on the white hose. That is actually, left over knuckles. Both hands no less.

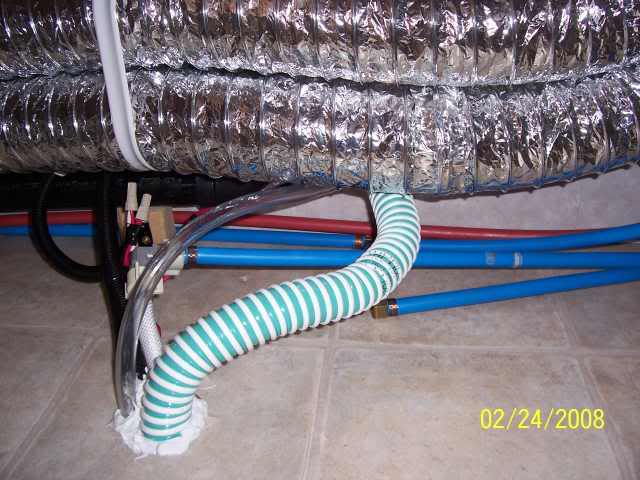
Here is the other side

Now where to move it to.

I debated where to move this to as I needed to add a water filter with easy access for servicing and compressed air blow out valving. I was not going to fight this area after every camping trip. I blow out the camper water each trip so a little time spent sorting this out will pay back later.
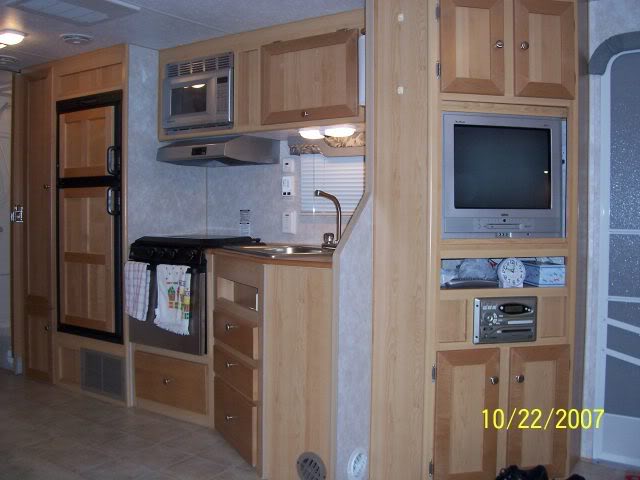
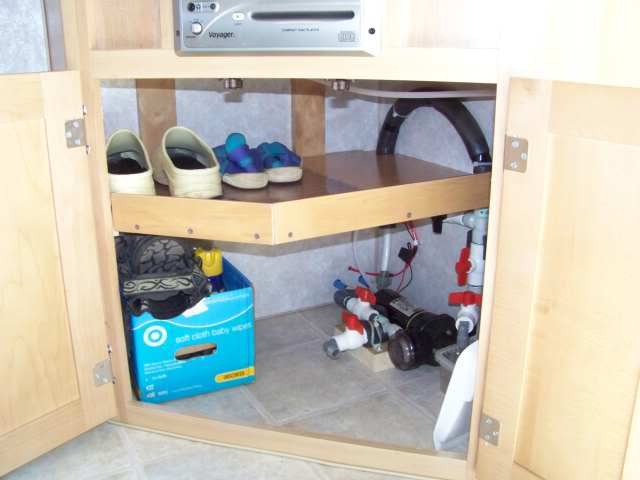
This is the new location. It is mounted in the entertainment center lower cabinet. I can take 1 step in the door and reach inside. I know this can be prime space, but I have other options for quick to reach things in from the outside so the water pump won.
Here is the new water connection to the fresh tank tie in. This is under the sink area where the old pump was.

Here is another view
Here is where the new pump pressure tie in is. This is the same tie point that use to be there, just it had a leak in the flex hose to the PEX connection. It is now all PEX tubing. This was a challenge to reach this far in to get to that pipe along the back wall. I needed arms about 6 inches longer.
Now the new pump setup. I will also add a quick removable shelf over the top of the pump area so we can put shoes etc on top.
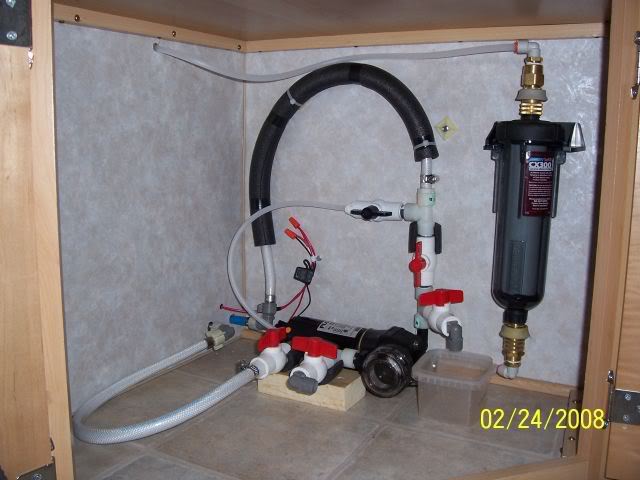
Here is a close up on the pump.
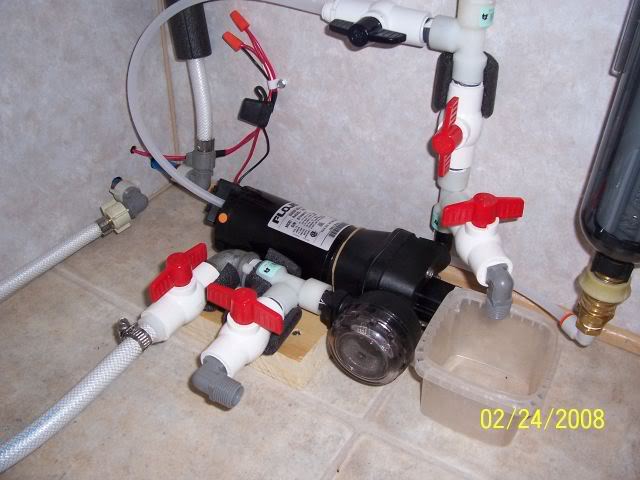
Now to what in the world are all those valves for???

I have this setup so I can use compressed air to blow out the camper easily and quickly after each campout. Once the gravity drain is done, it will only take me about 10 minutes to blow out the camper and force each line in the camper to be dry. See here for how I do this.

Now all we need is warmer weather
Hope this helps spark some ideas for others.
John


 Linear Mode


