For those of you brand new to RVing and don't know how to winterize, here's a tutorial on how to do it, using the air method. Other than the water system info, many tips here can be used for either method of water system winterizing.
All pictures were taken while winterizing my T-270SR. I also had help, so for those of you wondering, no, I don't paint my nails!
Here's a list of the tools/supplies I used"

Rachet w/ extension and 15/16" socket.
Flat blade screwdriver
Phillips screwdriver
Air fitting for city water inlet
Air compressor regulated to 35 PSI
Tire valve fitting for compressor
Scissors
Plastic stick on carpet cover
Box of Bounce dryer sheets
Tire covers
Boards to go under jacks
Roll of Duct tape
Crescent wrench to disassemble LP fittings
Push broom to clean off awning
Pair of Pliers
Small hose to siphon water from water heater
Toilet wand
Sewer hose
Garden hose
Old empty Prestone bottle
Roll of twist ties
Pair of handheld Walkie-Talkie's
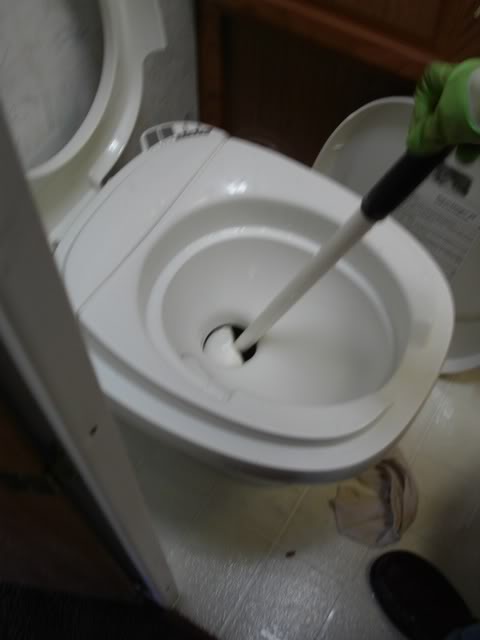
Step 1: Flush out Black tank by putting a "wand" down the toilet.
These are available at many RV dealers. Simply snake a garden hose into the trailer (bathroom window is best, if you have one) and attach it to the end of the wand. Open the toilet valve and put it down. Turn on the water and wave the wand around (no, you don't need to say any magic words!). I like to fill the tank at least 2/3 full. Some people also prefer to put ice cubes down the toilet at this point, assuming you plan on dumping the same day. The ice cubes will move around in the tank and clean things off as you drive down the road.
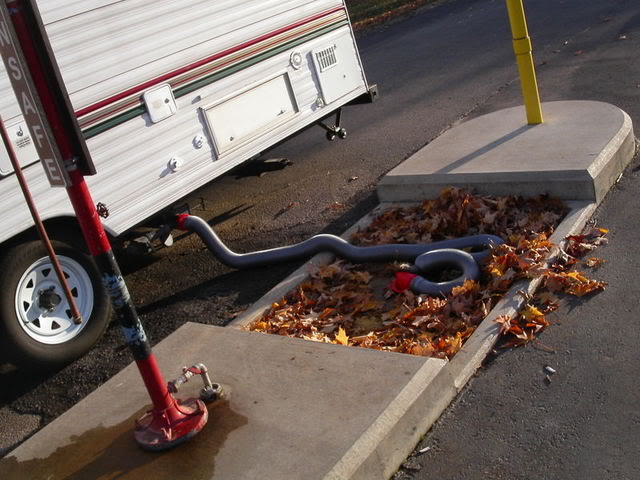
 Step 2: Drain all waste holding tanks (a.k.a. Black and Gray tanks).
If you didn't do this the last time you were out, there's always dump stations. Since I haven't had this trailer at a campground before, I had no choice but to find a dump station. In Michigan, you can dump for free at any state park/recreation area dump station as long as you have a park permit. The best time to flush and dump is when you have full hookups, so you can do it a couple times. But, you can't always do that, so a dump station will have to do.
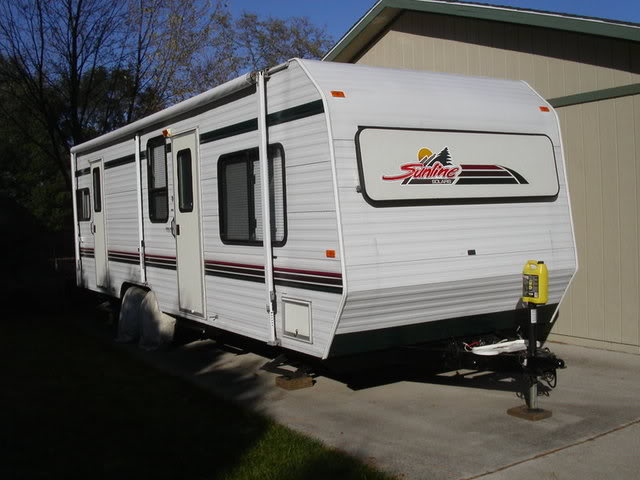
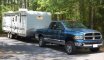
 Step 3: Park trailer in desired location, preferably inside a building.
I would also really recommend storing on some sort of concrete, as dirt can hold a lot of moisture and the undercarriage will rust quicker. If you can't store indoors, anything is better than just out in the open, so if you can, store under a tent, carport, etc. You may also wait on this step if you don't store at home (i.e. Storage facility).
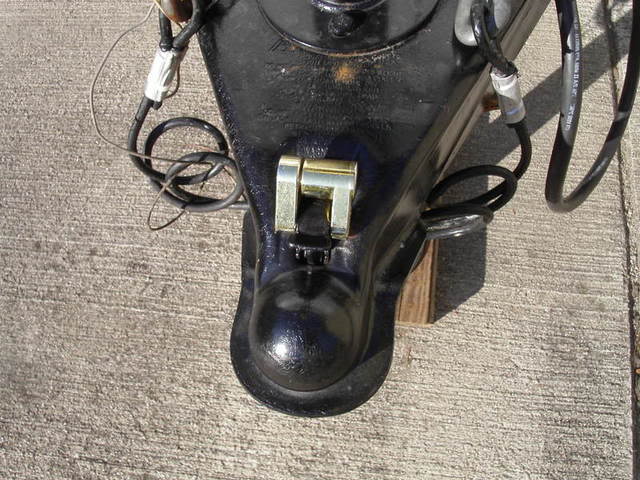
 Step 4: Unhook trailer and jack it to make it level.
This allows the trailer to drain properly when you drain the water system.
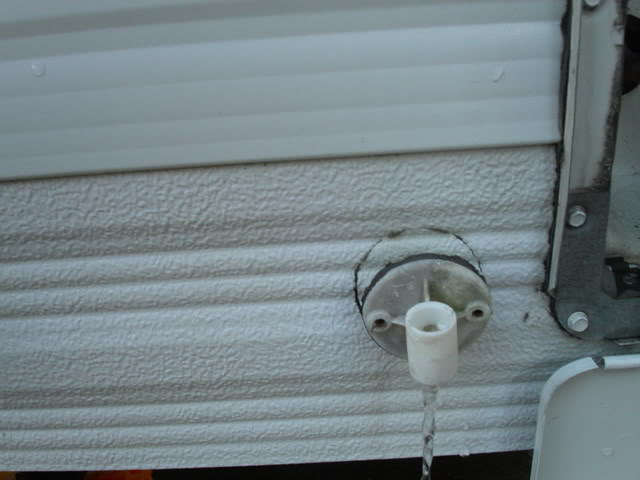
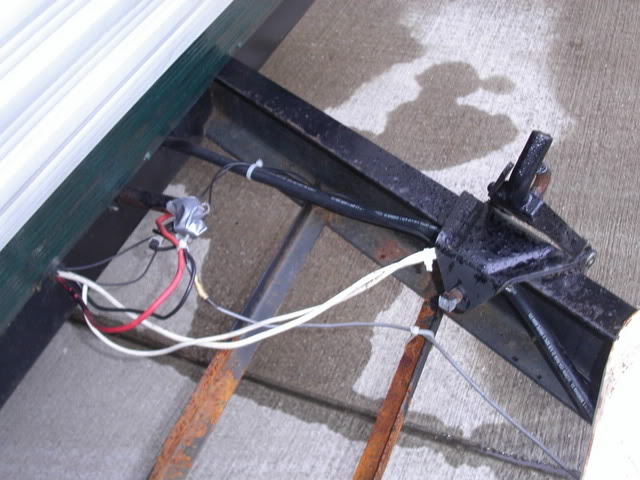
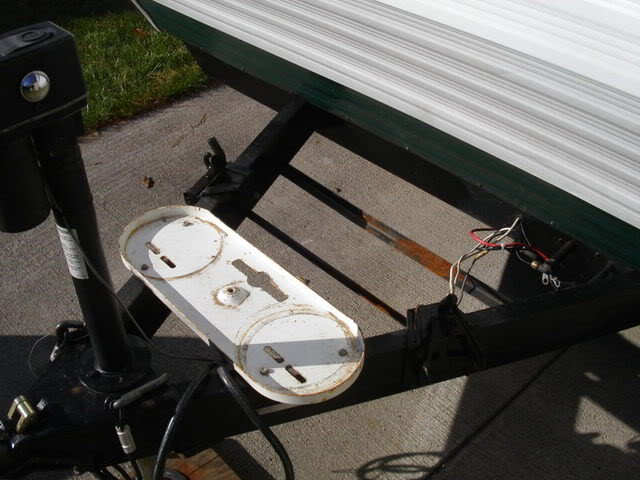
Step 5: Open your fresh water tank drain.
Open this to drain out any fresh water you may have left in your tank. The older Sunline's have this drain mounted on the outside wall, but some of the newer ones have the drain mounted on the frame rail.
Normally, this valve is attached to the trailer, but mine broke and had to be replaced, so it was unscrewed while water was draining.
 Step 6: Open your low point drains for the fresh water lines.
These valves allow your fresh water lines to drain the remaining water in the lines. The air method of blowing out comes to play later to get water out of the low spots in the lines. The valves are located in a different spot on every trailer, so check your owner's manual. The sheet that has the floorplan should describe where your low points are. Close these drains as soon as they are done draining.
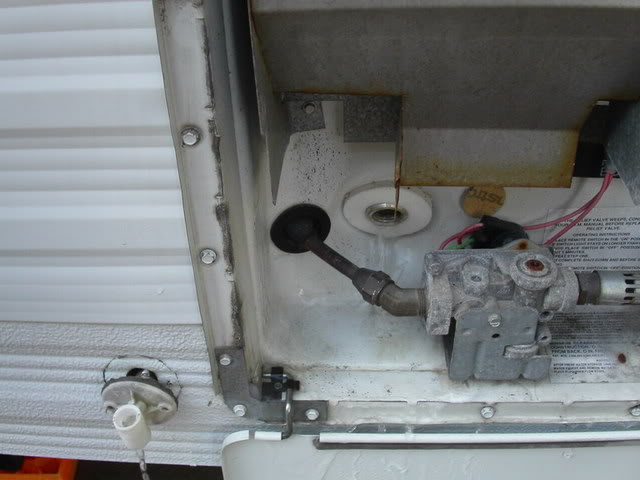
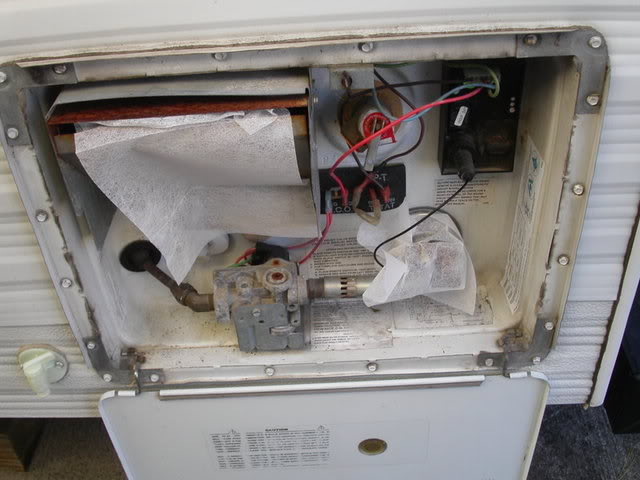
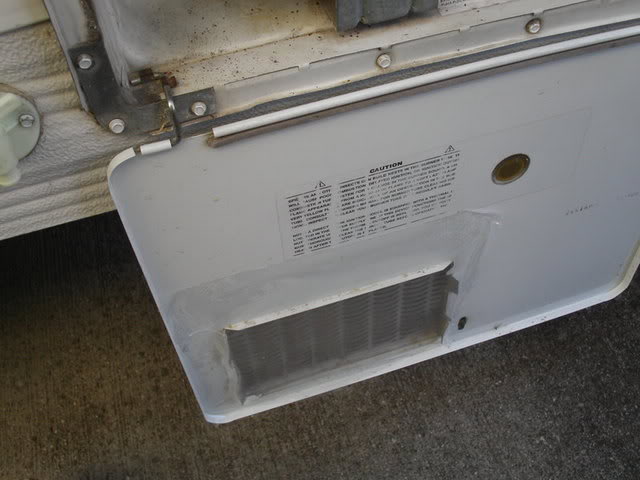
 Step 7: Take the plug out of your water heater.
Remove this drain plug to drain the water out of your hot water tank. For those of you who like to plan ahead, the standard plug takes a 15/16 socket.
Allow water to drain out:
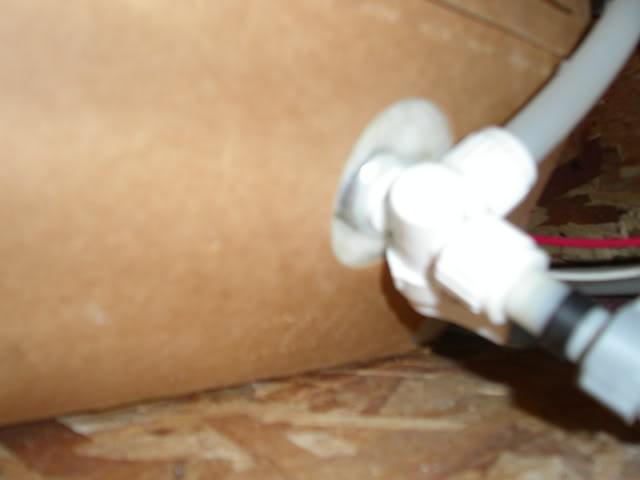
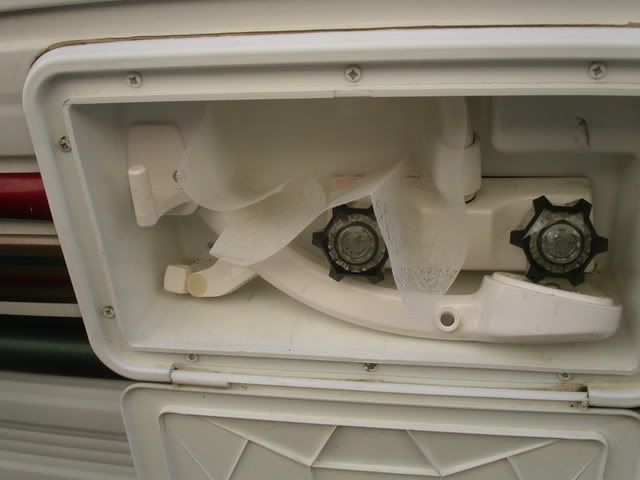
 Step 8: Turn your Water Heater bypass valves.
These valves will be on the back side of your water heater, if you have them. Some of the older trailers don't.
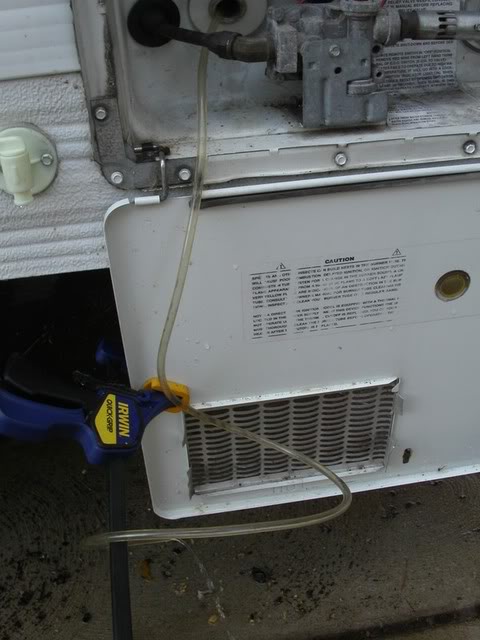
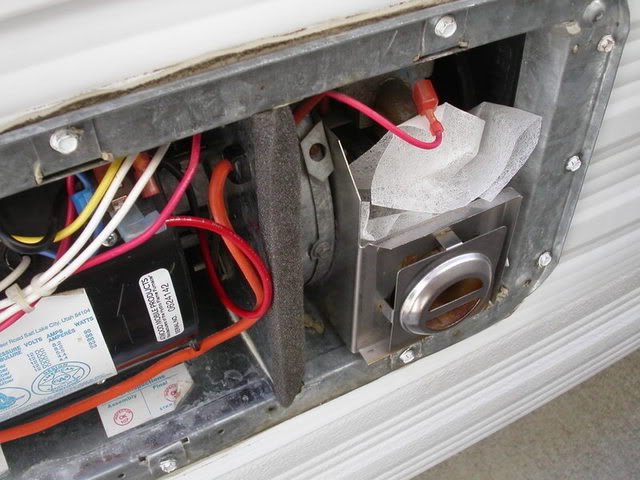
 Step 9: Once all the water has drained out, siphon the remaining out of the hot water tank.
The drain on the water heater is not on the very bottom of the tank, so you will need to siphon the rest out with a hose. If you remember how to siphon gas out of a gas tank, you'll have no problem here! Basically, stick the hose in and suck on it until you get the water flowing. Once it starts flowing, it'll continue until most all of the water is out:
Make sure the hose goes straight down, or it won't drain properly. I set it on the clamp just for photographic purposes.
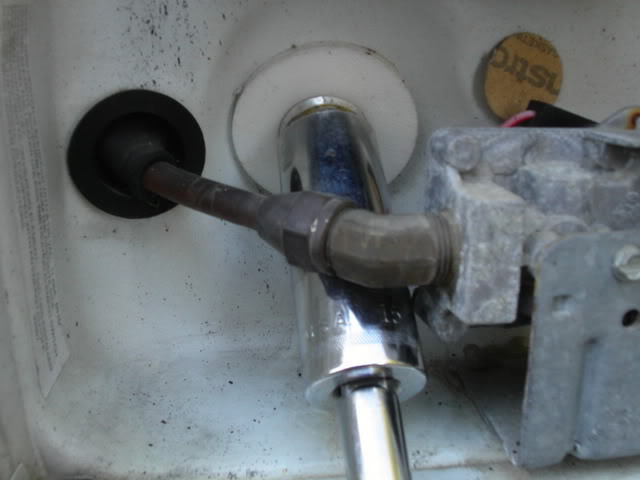
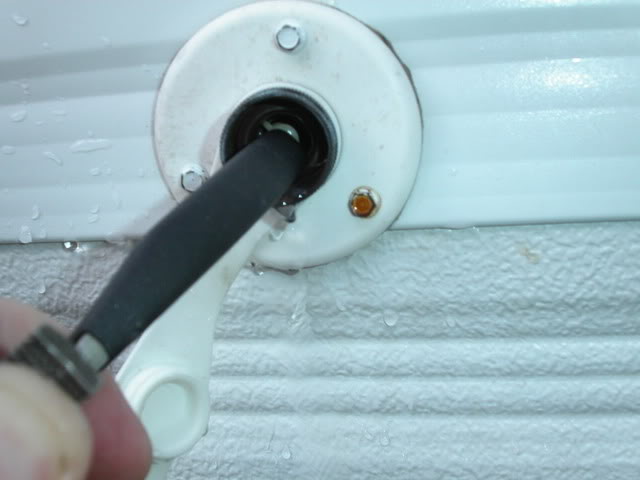
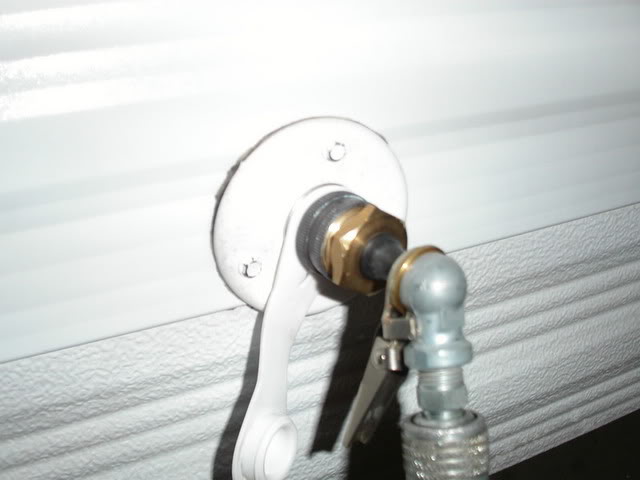
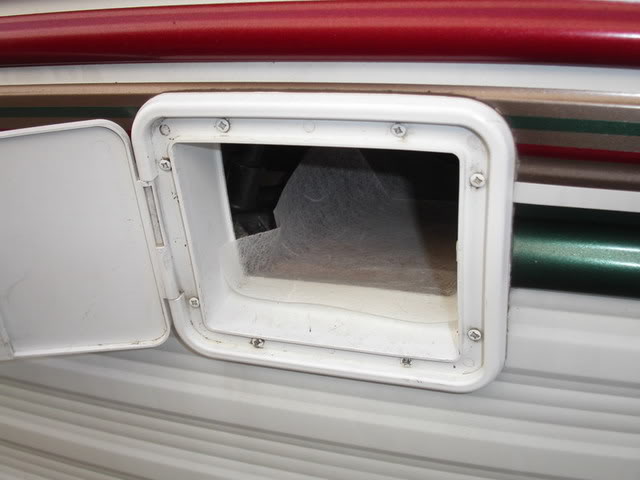
 Step 10: Remove the filter screen in the city water inlet.
 Push on the one-way valve. This drains the water out from that line so it doesn't get put into the rest of the lines. Reinstall the filter screen when done. I used the handle end of a pair of pliers, since my fat fingers blocked the hole when I tried pushing on the valve.
 Step 11: Install the blowout fitting in the city water inlet.
It installs just like a water hose does.
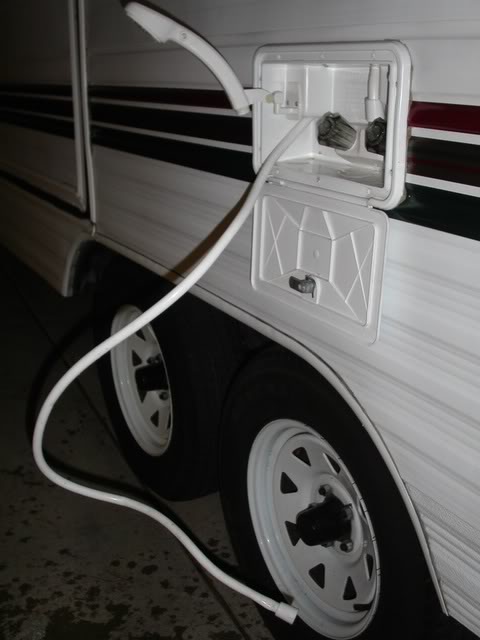
Step 12: Obtain help to blow out lines.
It is easiest to blow out unit with another person. It is a good idea to use the walkie talkie's to communicate between each other as to when to put the air on and take it off.
Step 13: Turn on your air compressor and regulate it to 35-40 PSI
Pull the air hose out to the job.
Step 14: Put the air on the fitting while your assistant opens each faucet.
Make sure to do hot and cold for each faucet, including the toilet and outside shower.
I use a special air fitting that clamps onto the valve. I wouldn't recommend leaving this on to run inside, but I am able to do the outside shower with this.
 Step 15: Remove the shower heads when doing the regular shower and outside shower.
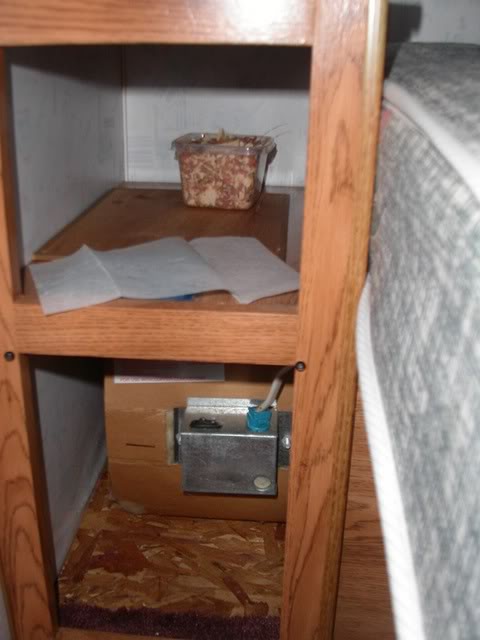
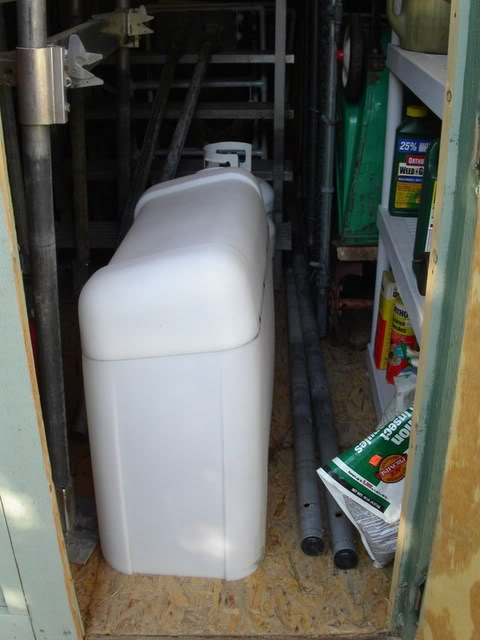
 Step 15.5 (added 5/11/18 ): If you have a Sunline with a fresh water tank inside the coach (under a bed or in a cabinet), locate the tank and locate the drain point. With the drain open, lift up slightly on the tank and prop it up with something (like a 2x4) on the side opposite the drain. Watch the feed hose to the pump, so that you don't break that off.
This will ensure all the water drains out, since the tanks can hold some water that won't normally drain. Remove the prop and set the tank back down when it's done draining.
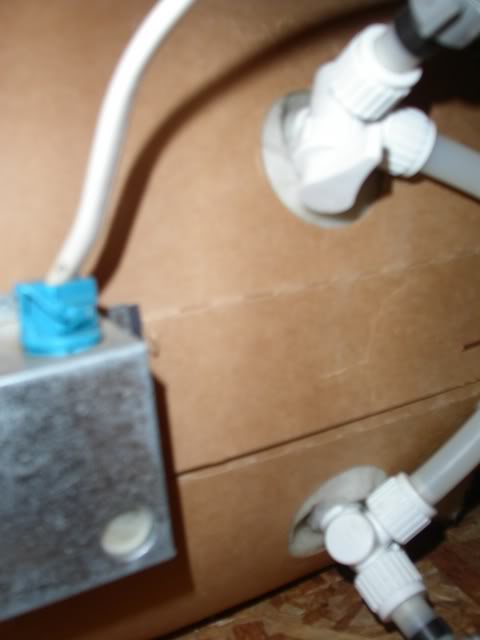
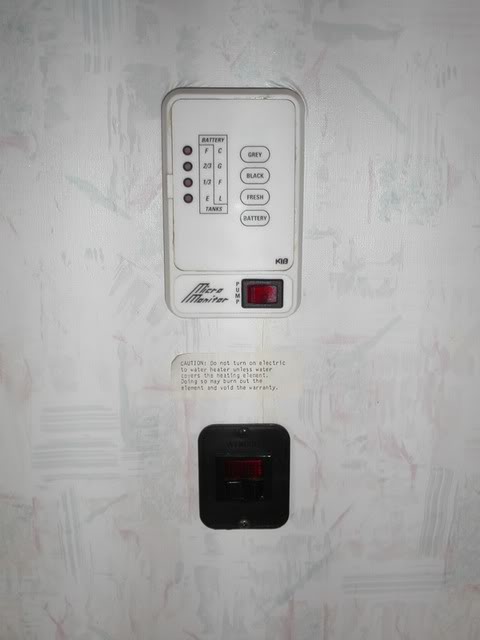
Step 16: Turn on water pump for about one minute to pump out remaining water from pump. Then add some antifreeze to the pump for protection, either by using a winterizing kit or by pouring in the tank.
For most, the switch should be on the tank monitor, like this:
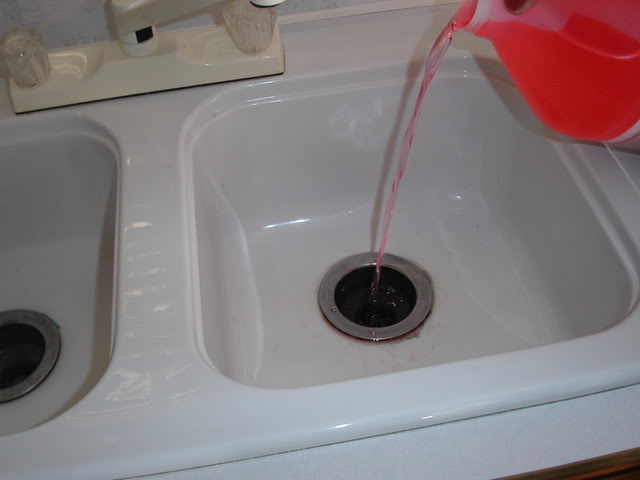
 Step 17: Once all blowing out is complete, pour RV Antifreeze down all drains, shower, and toilet.
I used the whole gallon jug to do all the drains, toilet, and shower.
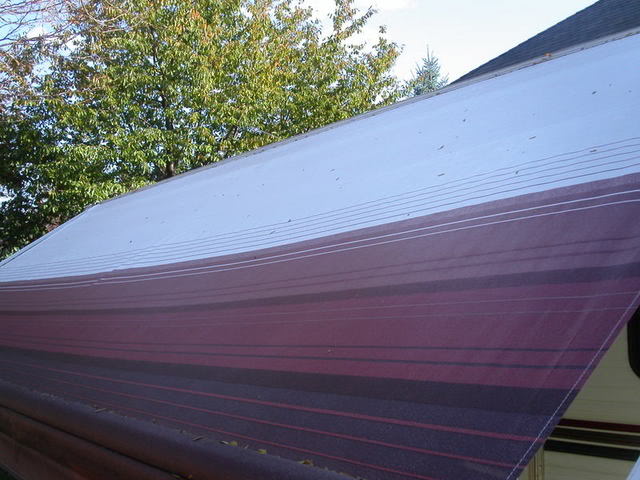
 Step 18: Open awning to ensure it is clean and dry.
I didn't have the time to actually wash it (I just did it not too long ago though), but I did dry it out and get the leaves off.
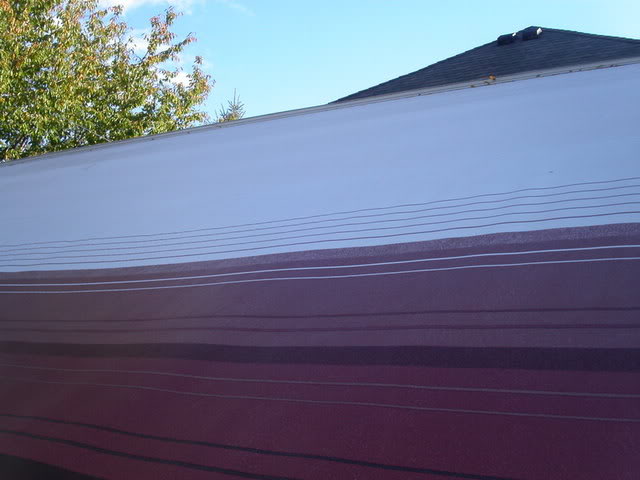
BEFORE:
AFTER:
 Step 19: If possible, wash the entire coach.
The day I did winterizing had a chance of rain, plus all this week had chances, so I didn't do it due to weather and lack of time, but I wish I did. I always like to put things away clean.
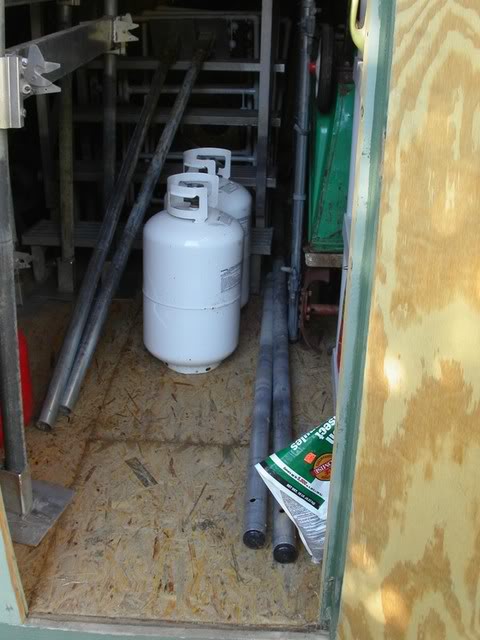
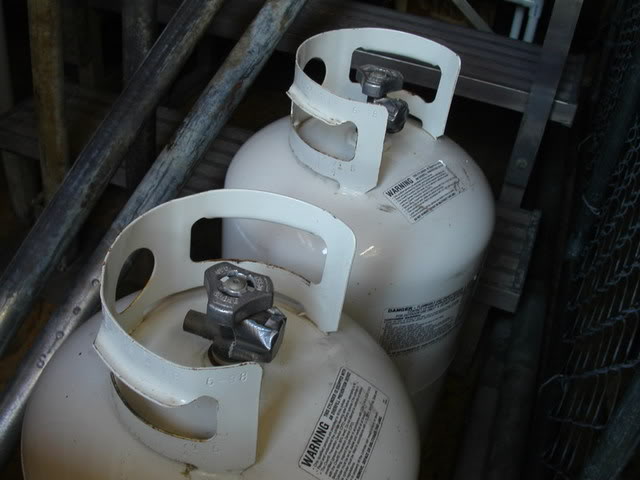
Step 20: Remove LP gas tanks.
Store in a secure, well ventilated area, such as a shed.
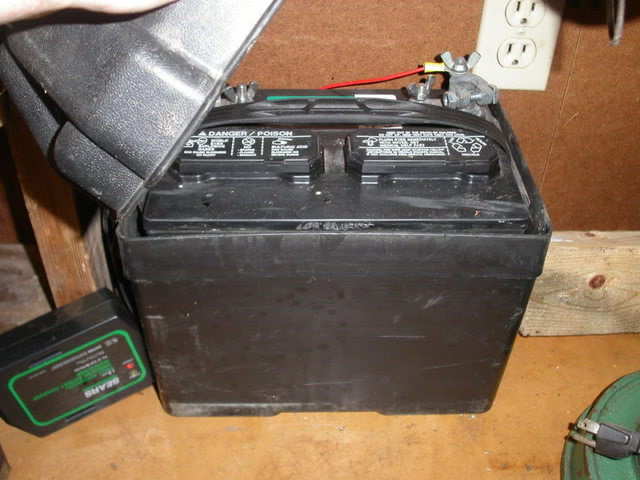
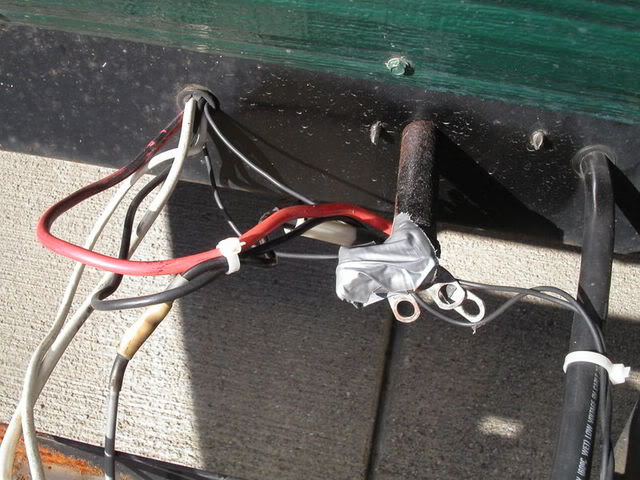
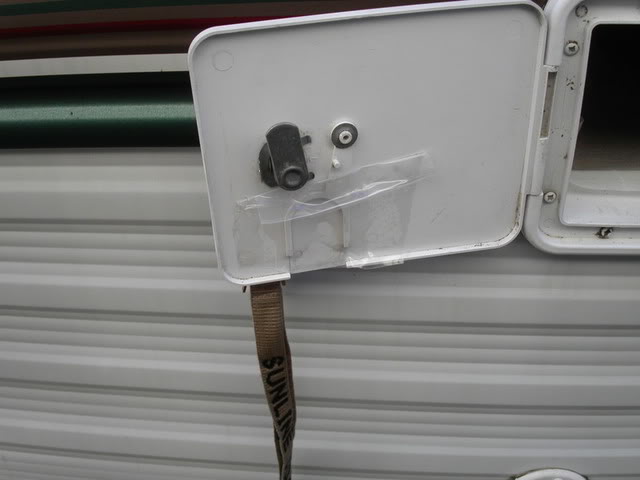
 Step 21: Remove the battery (battery, case, and strap) and store in a warm place.
A heated garage or basement is perfect so the battery doesn't freeze. It would also be a good idea to keep a trickle charger on it. I store the battery strap in the trailer so it doesn't get lost. Tuck the battery cables around something so they don't touch the ground. Note: the positive cables are NOT duct taped to the LP fitting, they are just under it.
 Step 22: Remove propane hoses and fittings.
Make sure to cover ends of hoses with something to keep spiders out. I use duct tape (I clean off fittings in the spring). Make sure to do this on the part left on the trailer too. Store the hoses and regulator in a warm place, such as a basement or heated garage.
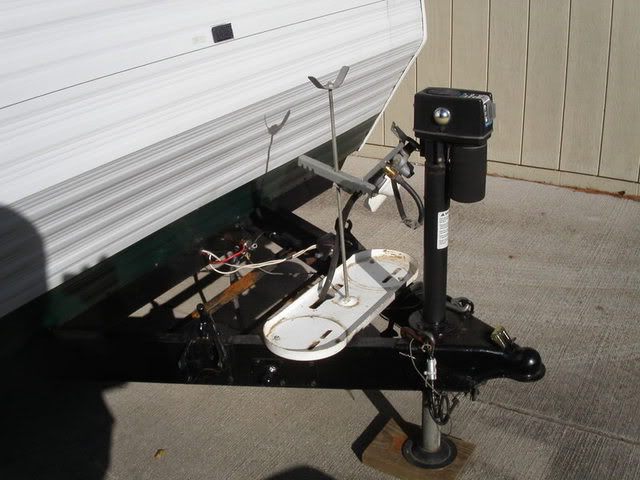
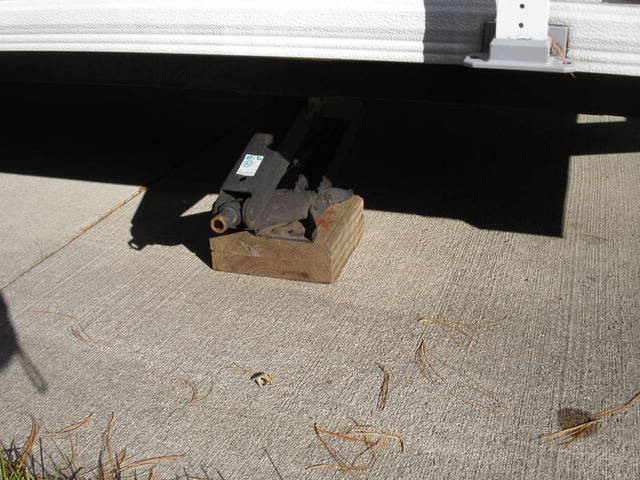
 Step 23: Lower trailer in front and put leveling jacks down.
Lower it in the front to ensure proper drainage. Put the leveling jacks down to take some weight off the tires.
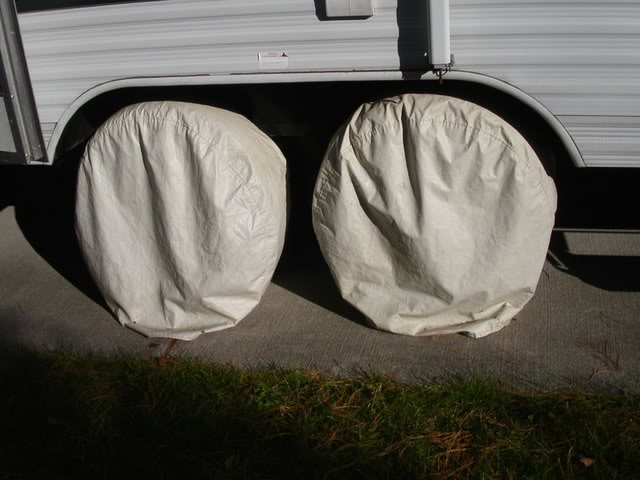
 Step 24: Cover tires with tire covers.
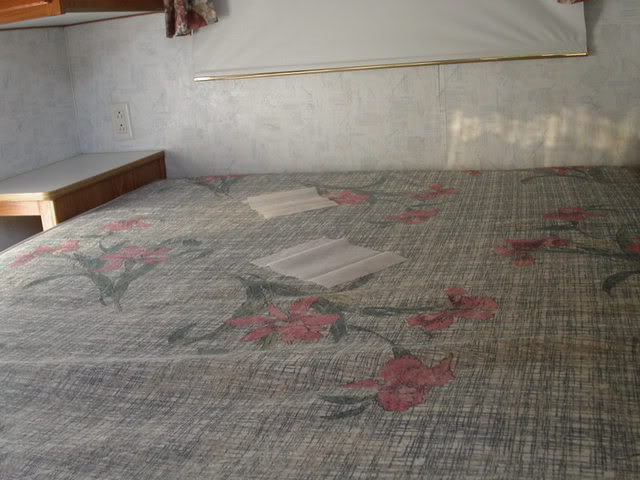
 Step 25: Place Bounce Dryer sheets inside coach and near all outside access points.

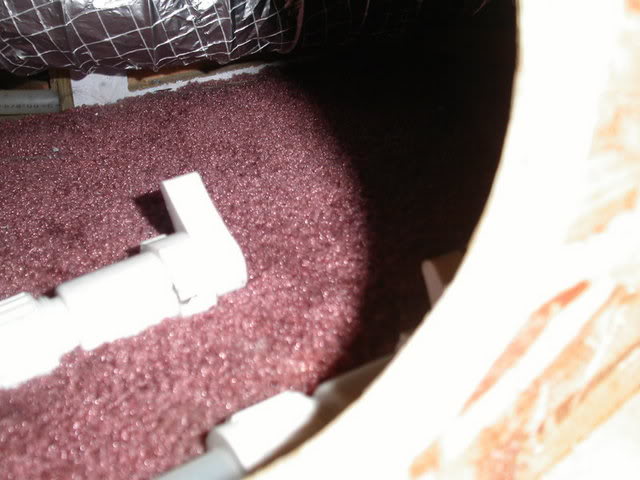
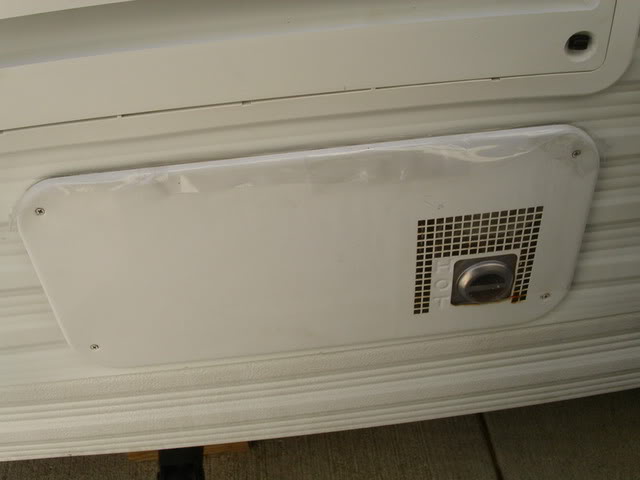
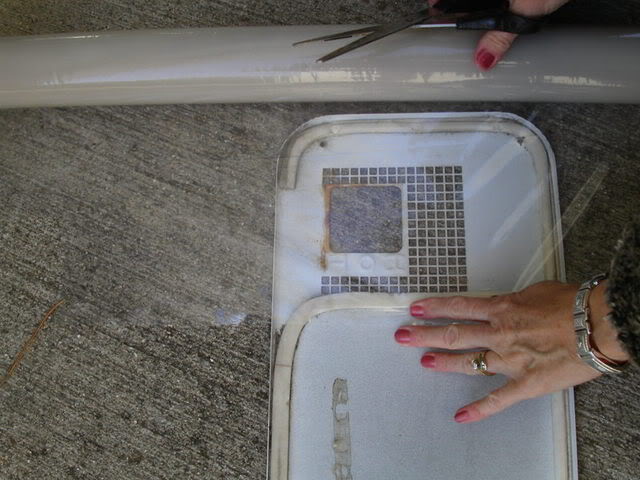
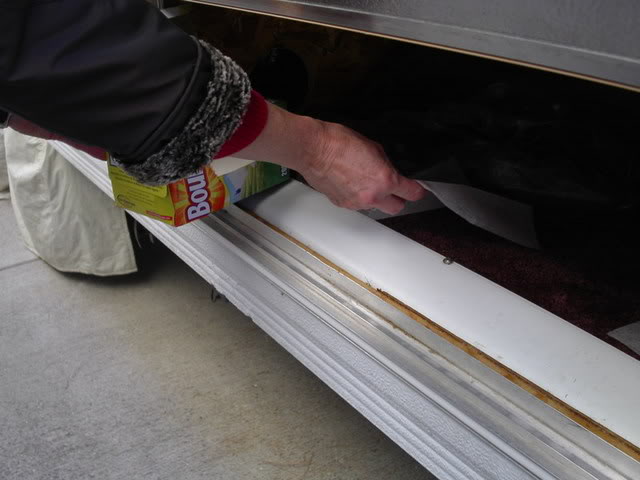 Step 26: Cover all outside access points with clear plastic carpet protector.
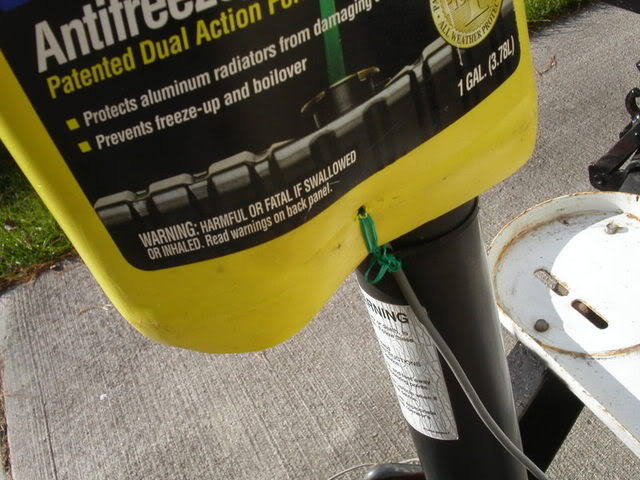
 Step 27: Cover power tongue jack, if you have one.
I prefer to go the cheap way...and old Prestone bottle tied on the bottom with a tie.

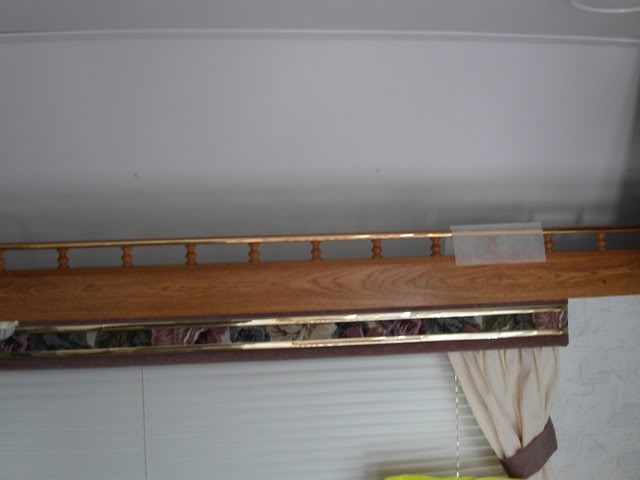
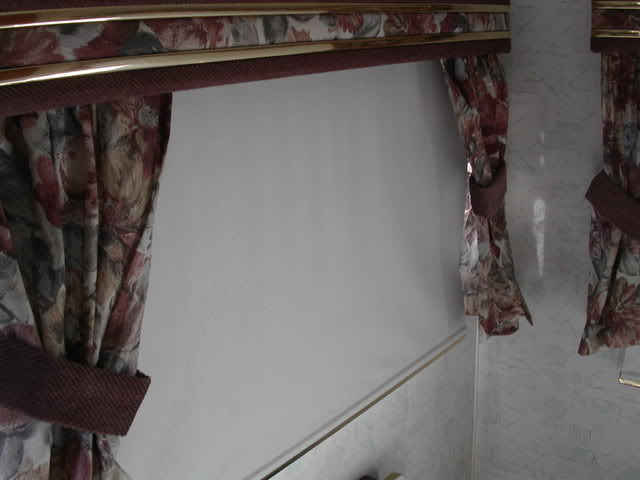
 Step 28: Close all windows, shades, blinds, and vents.
Step 29: Remove spare tire from coach. Mine had to be mounted on the trailer at the last minute, so I can't take it off the bumper. Store the tire in a dry warm place and inflate to proper pressure. Do the rest of the tires while you're at it. Many Sunline's have C or D load range tires, so the pressures to put in are 50 PSI and 65 PSI respectively. Smaller, '80s Sunlines will have lesser pressures.
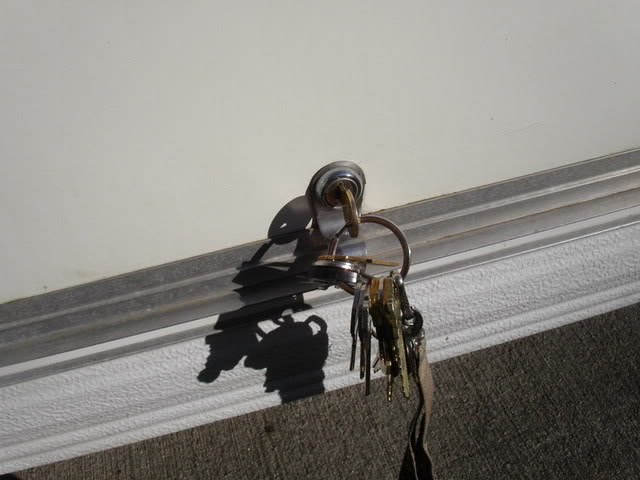
Step 30: Remove License Plate.
Only do this if you store on your private property. Some storage facilities require the plate number to keep track of the units on the lot, so it's important that it stay on.
Step 31: Remove batteries from Smoke detector(s) and wall clock(s).
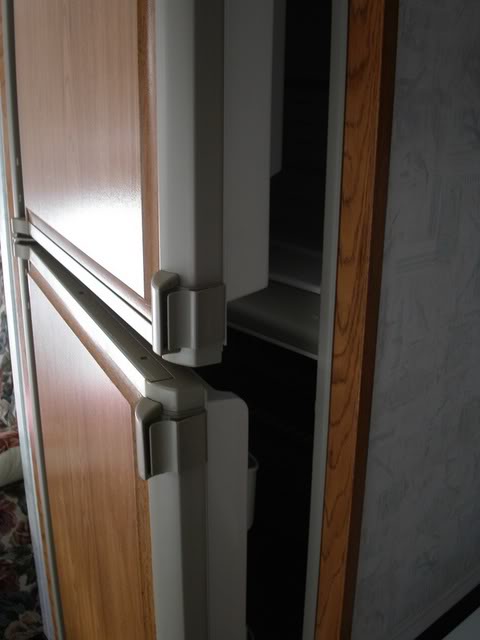
Step 32: Open Refrigerator door(s).
I say this last because you could bump it or something when walking around inside.
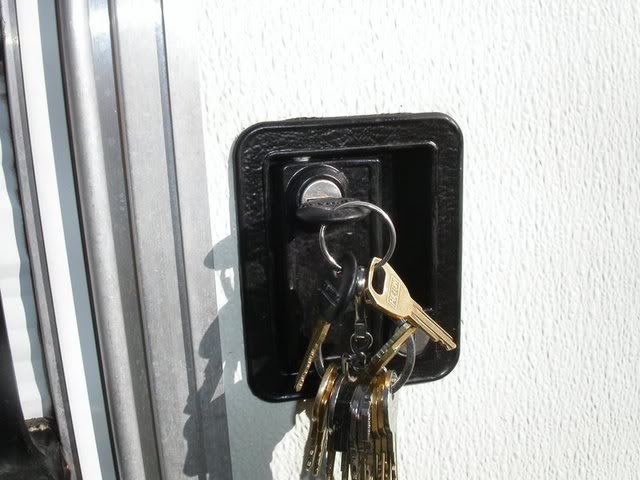
 Step 33: Lock all entry doors, storage doors, access doors, tongue, etc.
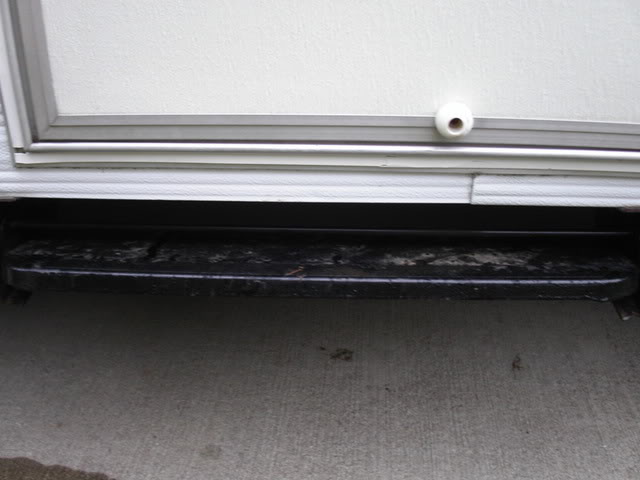
 Step 34: Retract entry steps.
 Step 35: Wait for springtime!!!
Now, your coach should be ready for winter. I will cover it, but that isn't a necessary step and covers are expensive. I hope to work on it yet, so that's the reason I didn't cover it. I will once the snow starts to fly, if not sooner.
Whether you feel the urge to visit your Sunny or not, it is a very good idea to check on it every so often, especially if it is stored in an outside location that you don't see everyday.
Jon


 Linear Mode


