NOTE: INSTALLATION PICS COMING SOON.
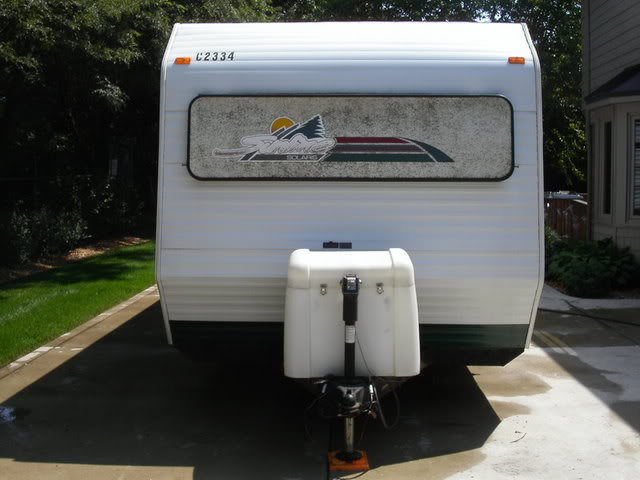
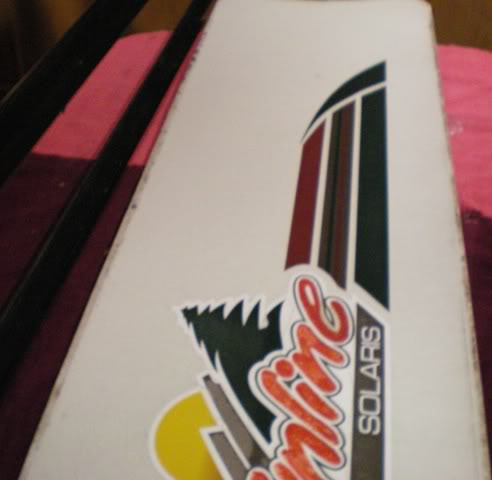
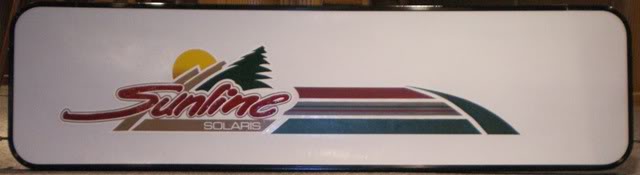
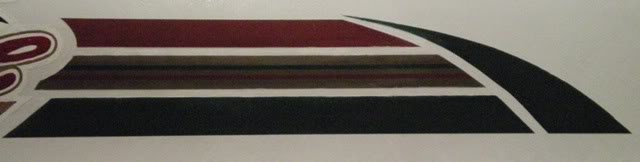
Remember this?
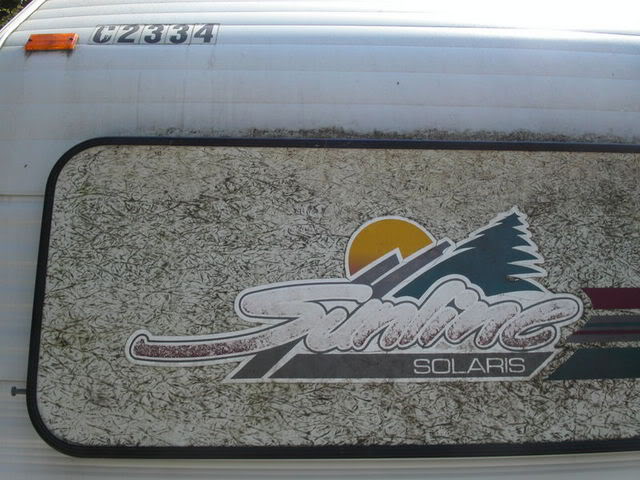
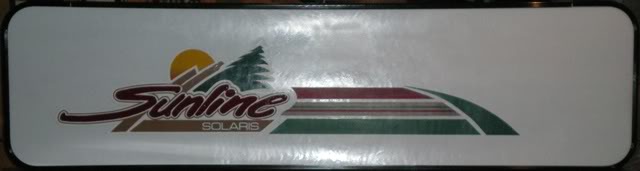
Well, I tried to clean it up some, but it didn't last and the red didn't match:
Not to mention, the piece was still slightly yellow, so it needed more, which led me to my first ever advanced Rock Guard restoration. The last time I restored an old one was on my 1550, but that didn't come out of the frame and didn't require anything but tan paint. Now that Sunline isn't in business, I had no source for new parts and I had to fix the old one. So here's the steps...
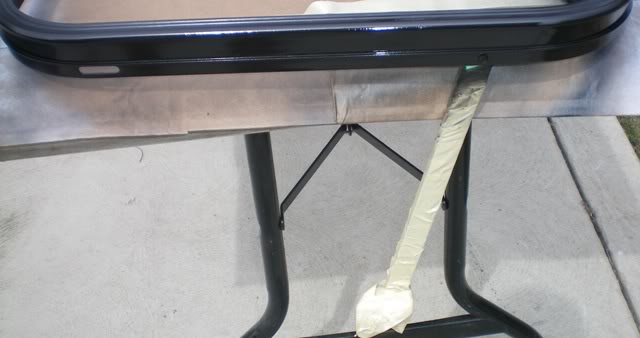
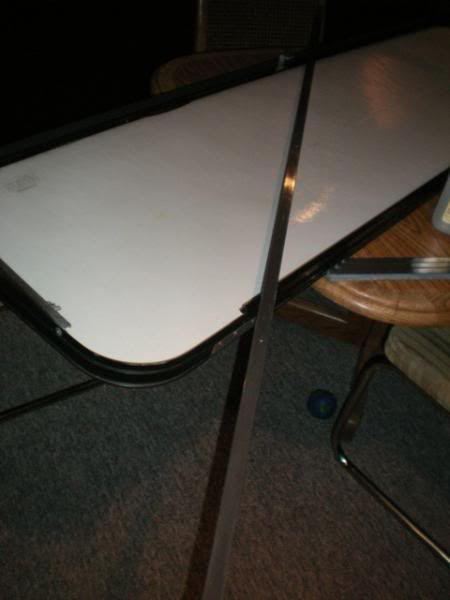
1: Find a nice table to work on...I started this while it was cold outside, making a warm place necessary. However, this is entirely possible on a folding table in the garage:
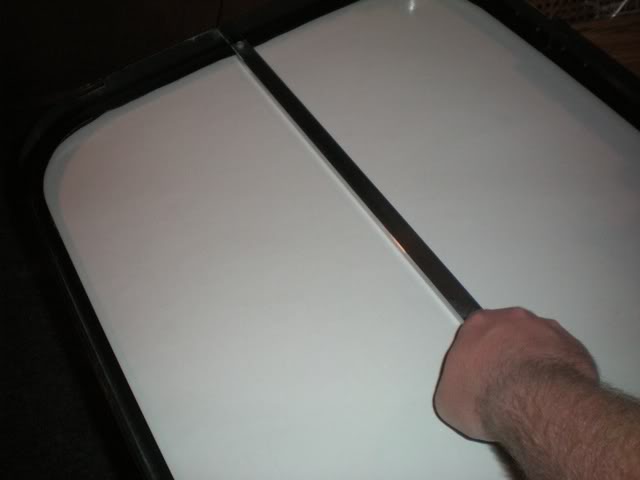
2: Turn the piece over. It is a good idea to put towels down so you don't scratch the surface:
3: Remove all screws on frame. There should be eleven total. They require a 1/4" socket. I stored these in a zip top bag so they don't get lost. You will probably need to open the arms up in order to get to the two on the sides.
4: The vertical bars come out by simply pulling out, once the screws are out.
5: I labeled each bar, and instead of using L & R, I used DS & ODS so I couldn't get confused with L & R looking at it or on the trailer. I also labeled T & B, for top and bottom.

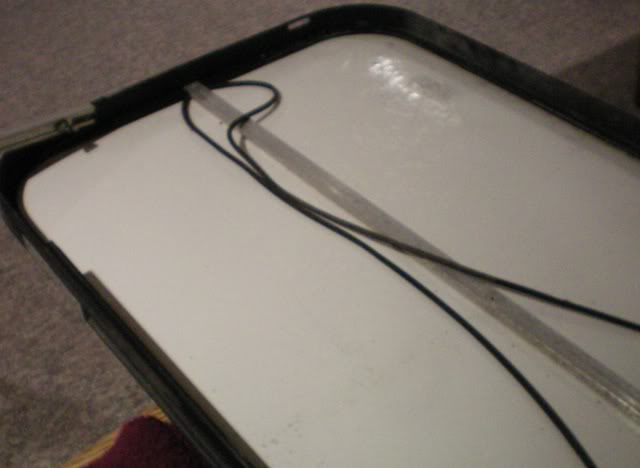
6: Pull the cord out. It should come easily. It is easiest to start at the end, unless the corners have shrunk like mine did.
7: Pull the cord out up to the center bar.
8: Pull up on the bar. It is taped down with a two sided tape, so it will require some effort. The older the tape, the easier it will be to pull it apart. I put this off until now because once this piece is pulled off, you can't reassemble quickly if necessary.
9: Pull out the rest of the cord. It would be a good idea to wash this. After I washed mine, I coiled it up and put it in a bag with the screws.
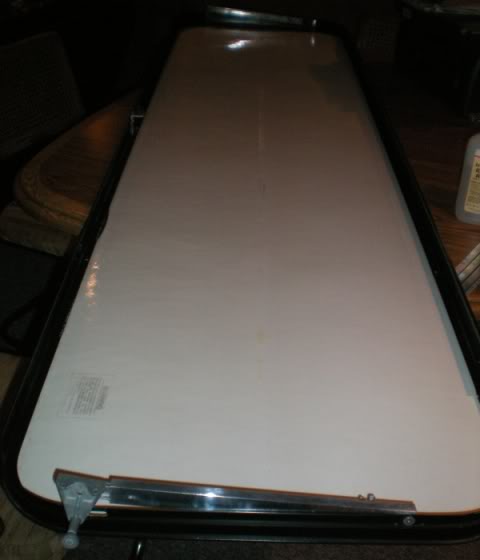
10: Pull the frame up off the fiberglass piece. It should come up easily.
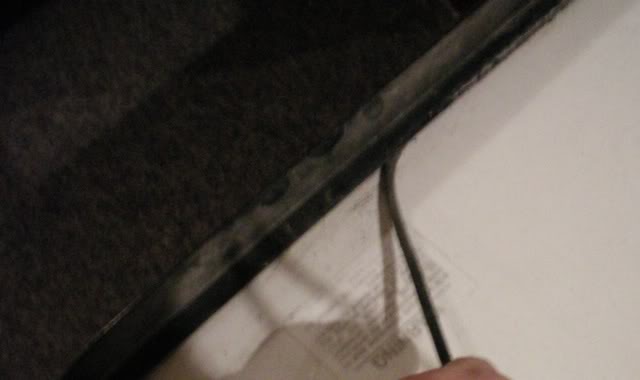
11: Scrape off all old tape on fiberglass piece and aluminum frame.
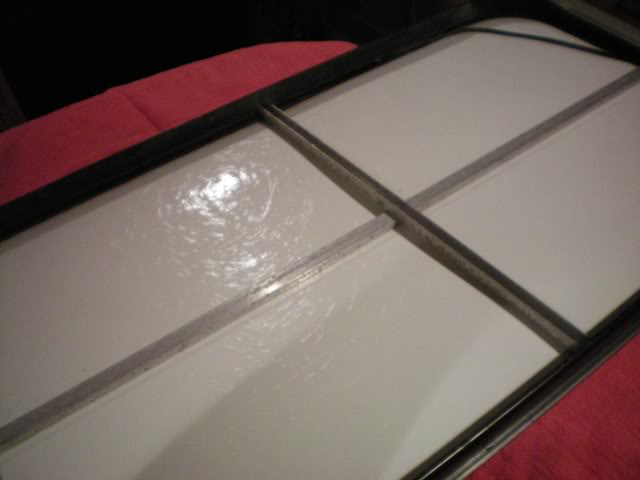
12: Wash the frame and fiberglass piece. My fiberglass piece had black dirt on the edge, but a quick wash job cleaned this up. See before:
Now to painting:
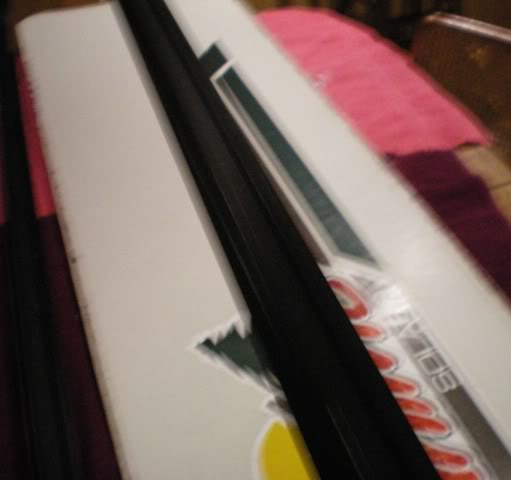
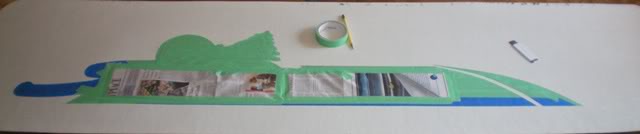
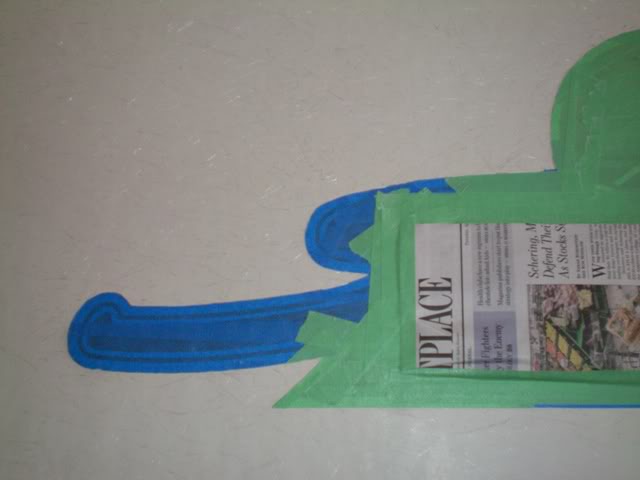
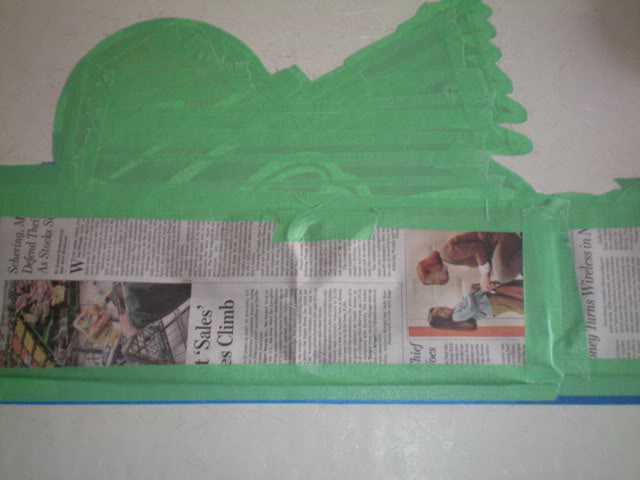
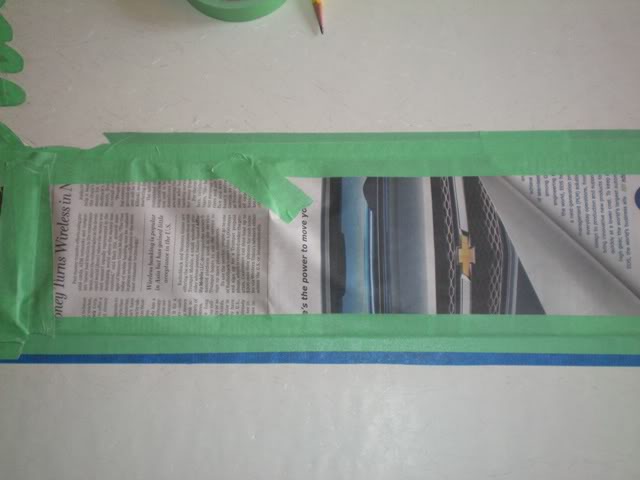
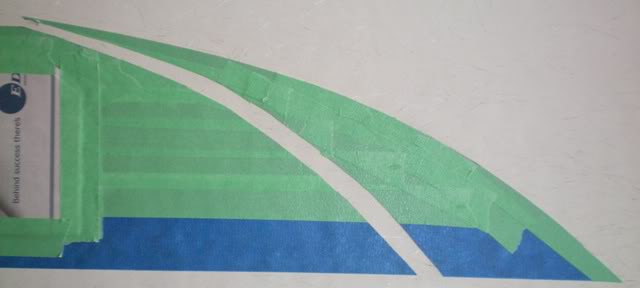
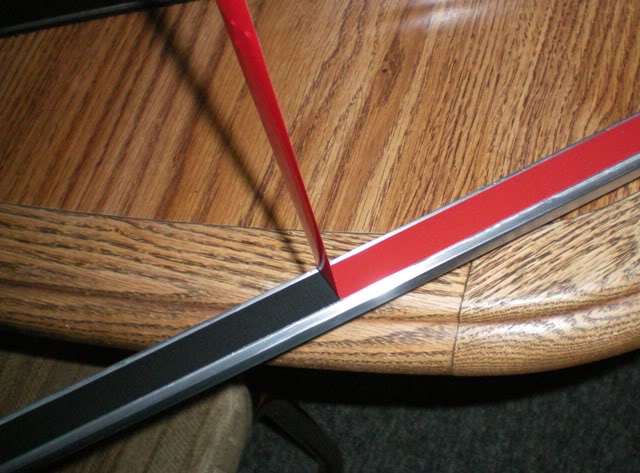
13: Mask off the logo and / or striping, whichever is applicable to your coach. I didn't mask off each individual stripe, and I regret it now. It would be well worth it to take the time to mask off each stripe properly and spray, instead of trying to come back and brush touch up. The only reason for the two colors of tape is I was trying to use up a roll of the blue in the beginning.
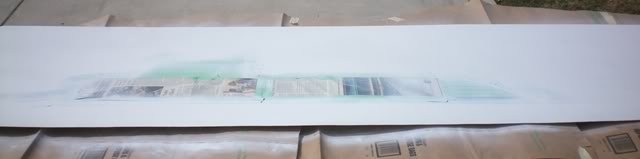
14: Place the fiberglass piece in a painting area and prep it for paint. The paint I used was Gloss White Krylon Fuzion. It says to clean the piece with an amonia based product prior to painting. So I did this with Windex just five minutes before painting.
15: Paint the piece. It'll take a good two coats, if not more to fully cover the yellow. The Fuzion paint seems to embed itself into the fiberglass on the first coat, and then you need to come back over again to get color. I did it in one can, but barely. I ended up needing a second to do the touch up between the stripes. I chose to paint everything on a sunny day at about 65 degrees (last Sunday), and the Fuzion dried in about 15-20 minutes.
16: Mask off the frame for paint:
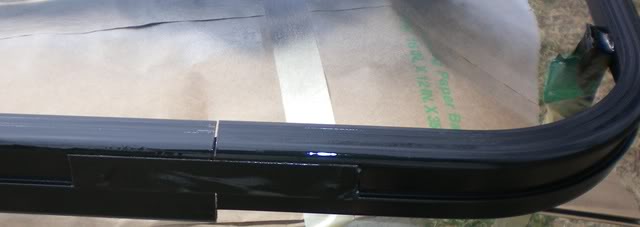
17: Paint the frame for paint. I used a simple gloss black, because I like things shiny. I believe this piece was originally a semi-gloss or flat black.
18: Once everything is dry take inside for logo restoration, if necessary. My logo was in need of help, and I just happened to have some exterior paint already mixed to match the colors (from my room!). I was able to use this paint, and it worked fine. My Dad painted the logo for me because I can't keep my hand still, and it came out great. The tan came out lighter than the original, but I found the tape pulled off quite a bit of color when I pulled it off, so painting this was necessary. The tan did darken up some once dry, but it still isn't a perfect match like the other two.

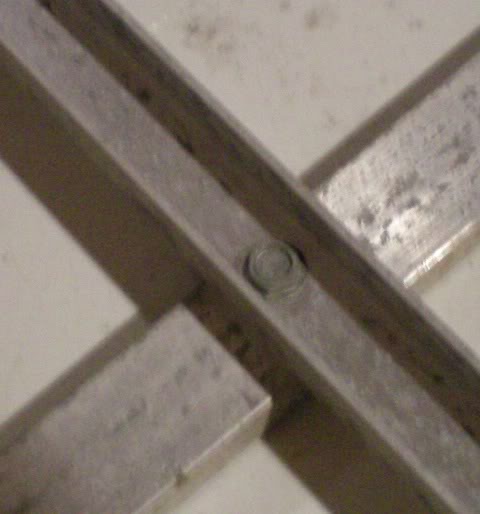
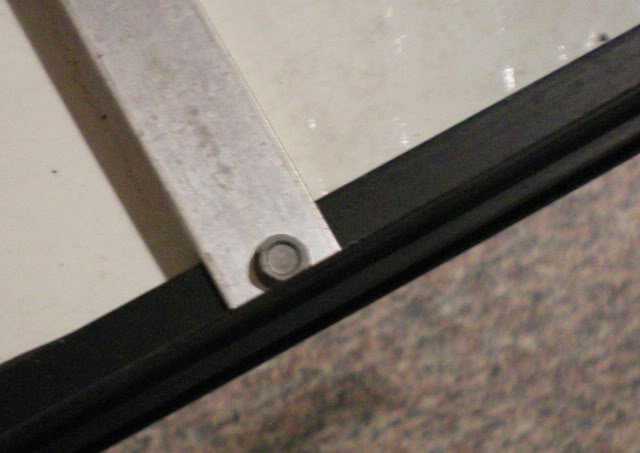
19: If you want to do the full job, polish all the hardware on the frame. I used a combo of things to polish, but mainly steel wool made it look better and would be suitable if you didn't want to spend a lot of time on it:

20: Insert the piece into the frame, once everything is dry. It will not be easy, and is somewhat difficult if you're doing it by yourself. And, it won't stay in by itself unless you hold it.
21: Lay it back on the table, face down.
22: Insert the (clean) black cord into the channel. This will help hold the piece in.
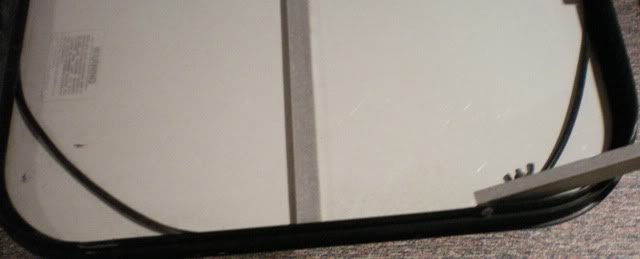
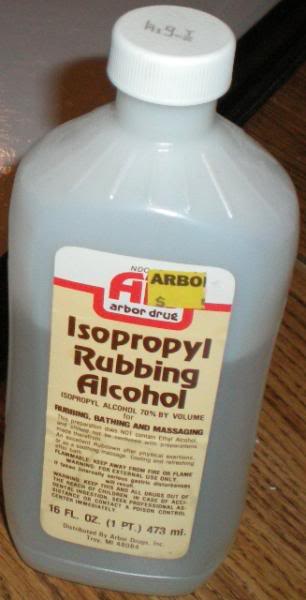
23: Make sure all old tape is off pieces and clean areas with alcohol:
24: Install new two-sided tape on the aluminum channel. This is not cheap, so you need to be sure you'll make it look better if you pull it apart. I use a 3M product. This step is essential because if it isn't taped, the piece can blow out on the road and you won't have any way to replace it now.

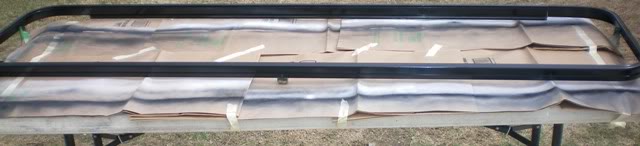
25: Dry fit horizontal frame to make sure you have it going the right way:
26: Pull tape backing off and stick down in place:
27: Reinstall screws on both ends of horizontal frame.
28: Push down horizontal frame to ensure good contact.
29: Reinstall vertical frame pieces and screw down.
30: Polish fingerprints off aluminum, if applicable.
31: Reinstall on coach.
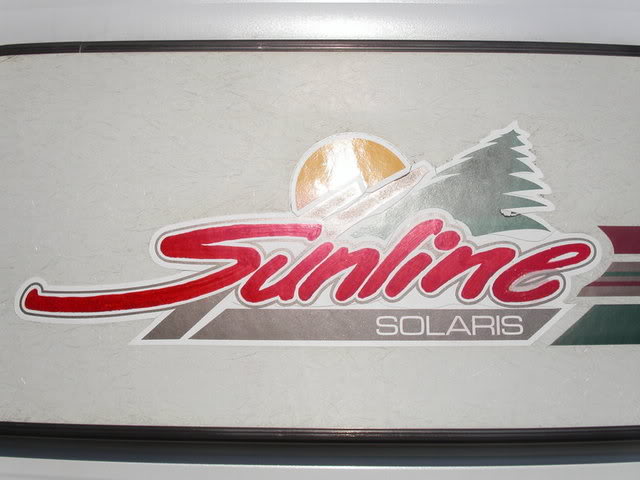
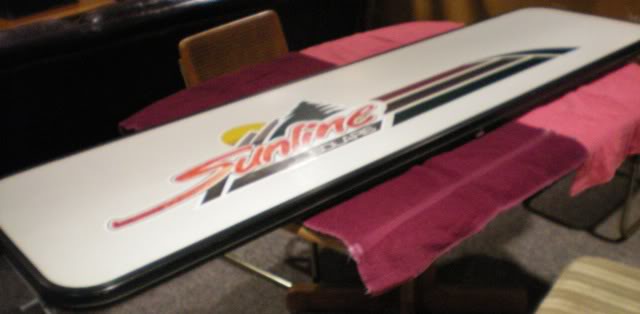
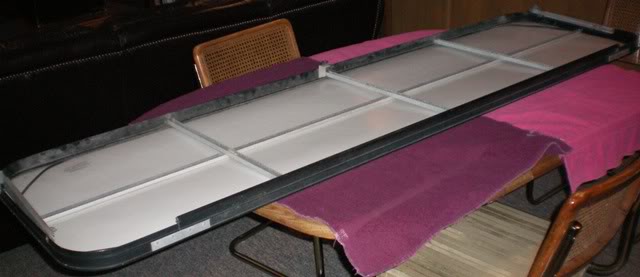
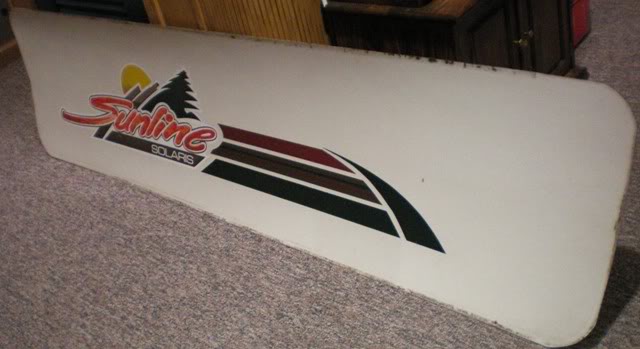
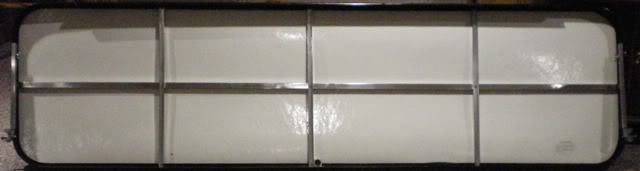
Here's some pics of the final product:
Jon


 Linear Mode


