Fellow Campers
For those that have not had a Turbo Maxx Power Roof Vent, this post might help you on how to install or to give you a thought to add one.
We have a pass thru bathroom on the T310SR and it is in the middle of the camper. We installed the Turbo Max in the bathroom and only use it on exhaust. Sort of like a whole house fan it can draw in the bed room at night thru the windows or even out in the galley area. You just close off what widows you do not want it to draw thru.
We have the one with 3 speeds and the thermo stat. The only caution on using this in the bath is to make sure it is off when you flush and only use it in exhaust mode. Then there are no issues with black tank gases being drawn up.
This is the 2nd one I have installed. I put on in the T2499 as well a few years ago. They work great.

I’ll do this with pic’s as it seems to be easier to follow. Maxx Air does give a good set of picture instructions with the unit. And they have it online as well.
http://www.maxxair.com/Products/Turbo-Maxx.aspx
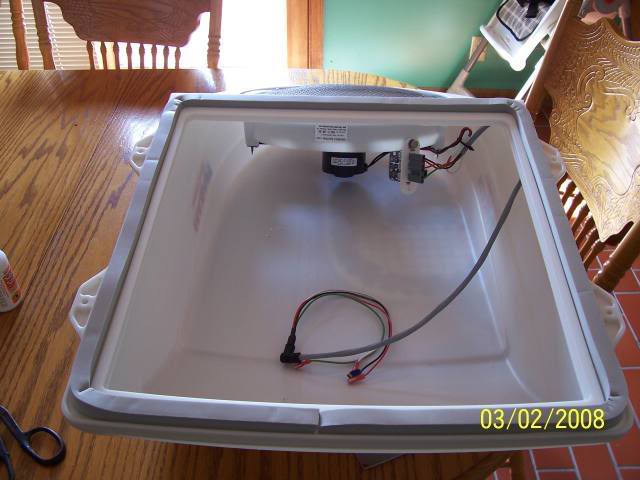
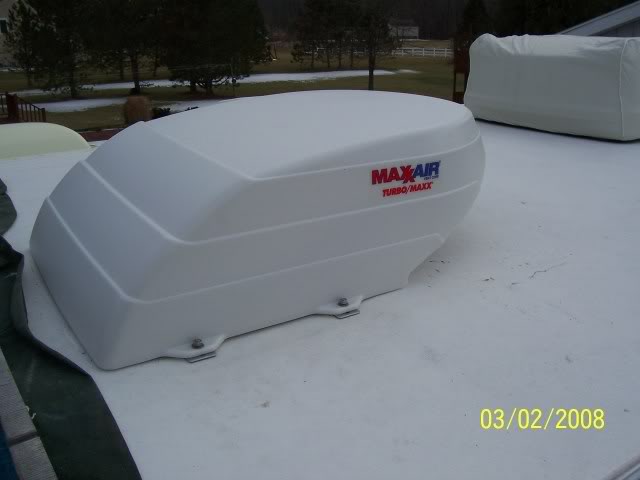
First is the fan itself. It is a rugged hood and fan system. Very durable. I also put 303 UV protectent inside and out before installing to give it an added level of sun protection.
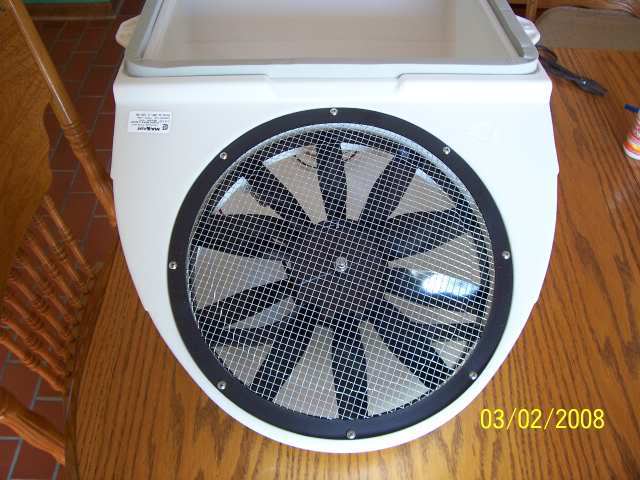
And the fan shroud
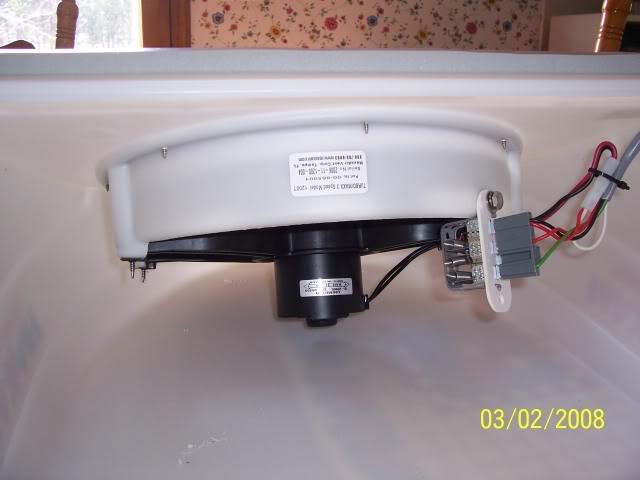
And a close up on the fan motor.
No onto the roof. In my case I was already replacing the roof vent for rusting reasons. You do not have to replace the vent to add the Turbo Max. It bolts on to the existing one. You do have to drill a 3/8” hole to let the wires get in. Make sure you mark the hole with the vent lid closed. Or else the connector will hit. And do not put it too low to prevent the possible of water getting in. Right on the edge of the closed vent is best.
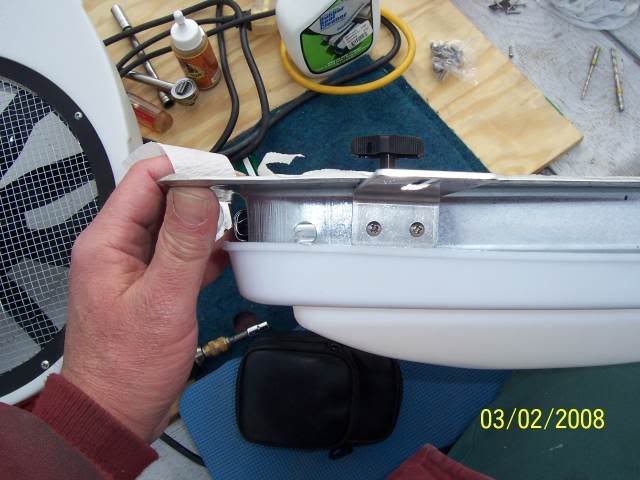
The brackets drill to the side of the roof vent
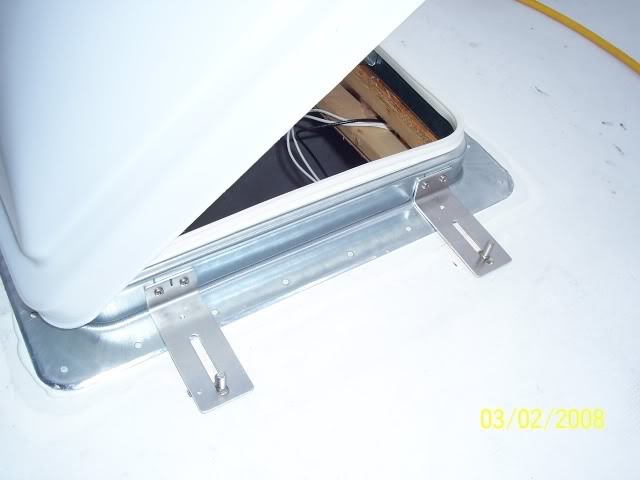
Here is the wire side fishing the wire thru
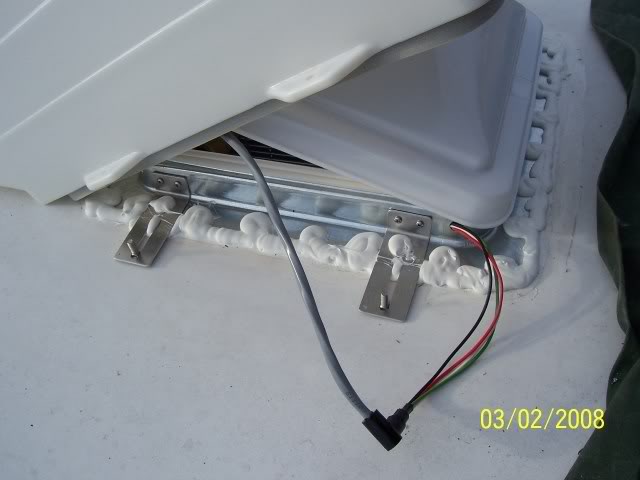
And the wire all the way thru. That black connector is a press fit if you use the 3/8” drill bit. So it is a real good tight seal.
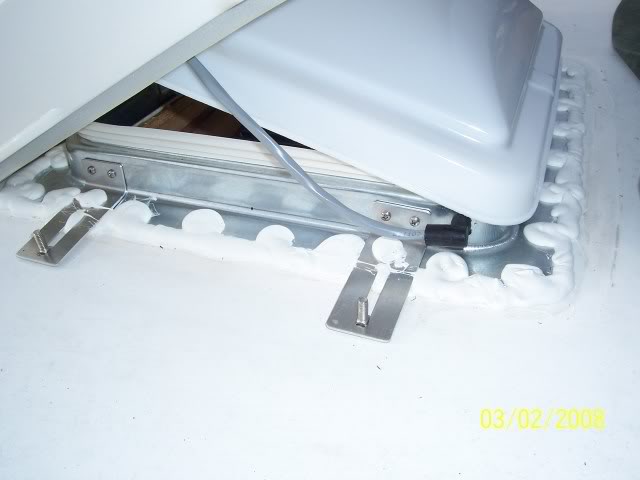
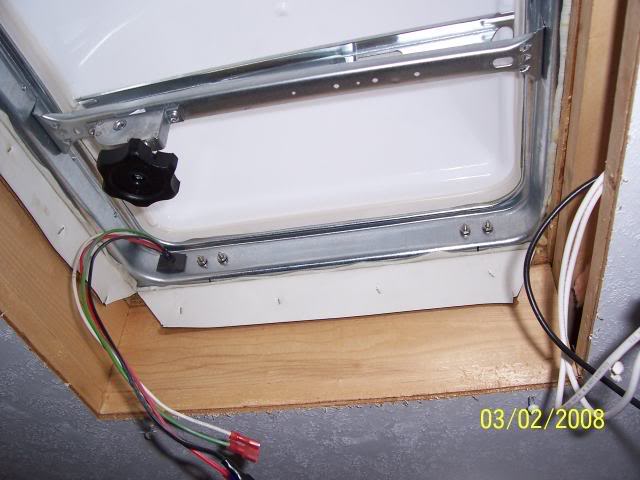
Then inside you put a retaining clip on the fitting to keep it from backing out.
And here is the finished install on the roof. They give you stainless hardware which is good so it will not rust. And it is foam gasket sealed to the roof to keep dirt our from along the roof.
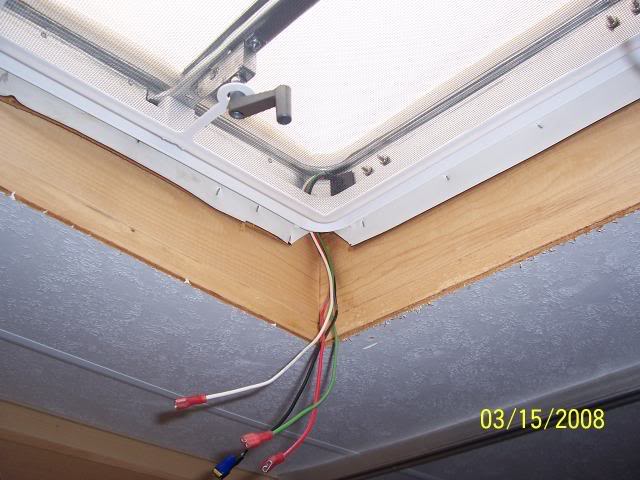
Now to the inside. You put the screen up in place and fish the wires on the outside of it.
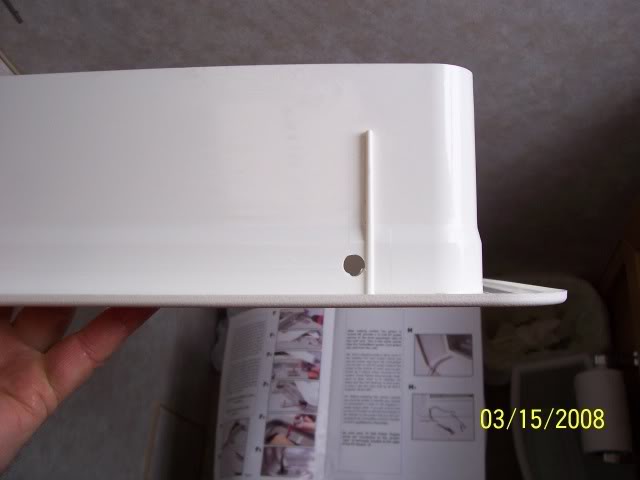
And you have to drill a 3/8” hole in the plastic shroud. Heads up where you out this. Too low and the wires fight you big time. You need to hold the control unit up to the shroud, see where the wires come thru then mark a hole. And it needs to be high enough to not be dead on the bottom.
I also put 303 UV Protectent on the screen edging and this vent throat shroud.
The you fish the fan and power wires thru the hole
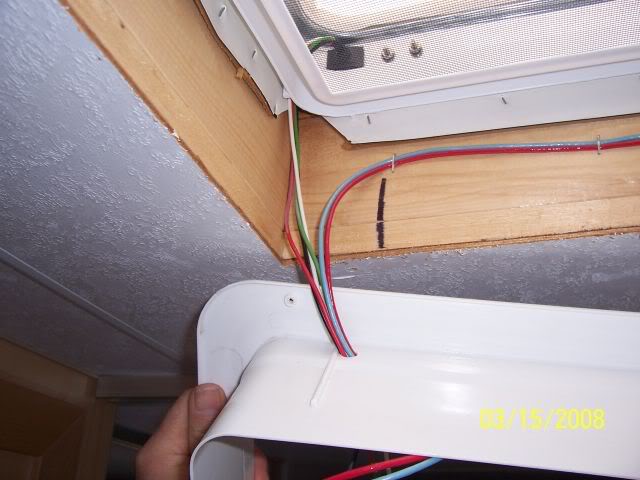
And put the shroud up.
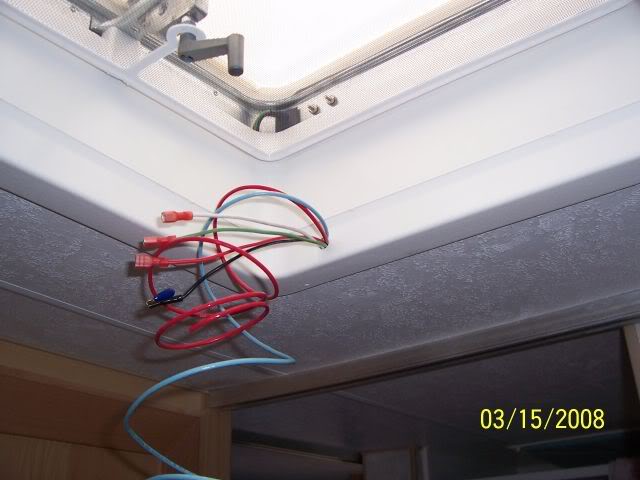
Then you need to layout the control module. It has a backing plate. And it can be installed 2 ways. Both work, but one is better looking. And if you do not know this, well you end up drill 2 set of holes.

Like I did. It got me twice, 3 years apart….

So don’t you do the same thing…
See here it fits well on the inner radios, but this does not give a flush mounting of the control module.
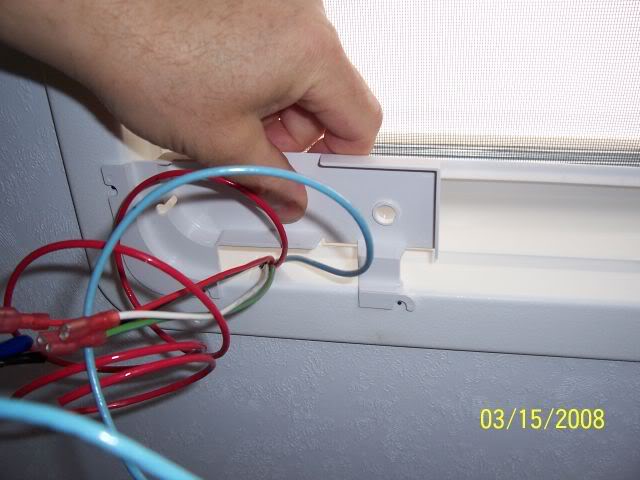
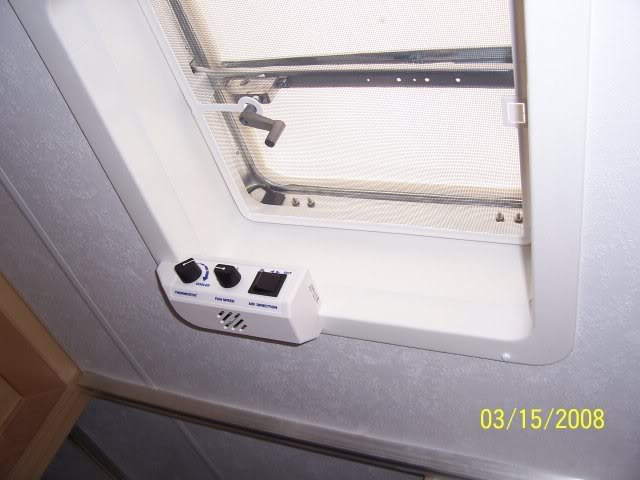
Now here is the more eye appealing way. You use the outer radius. Must be this fits other different vent shrouds.
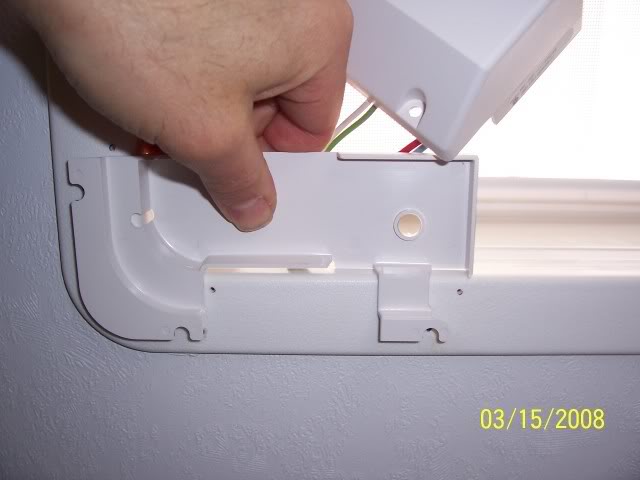
Then you plug in the wires in the control module.
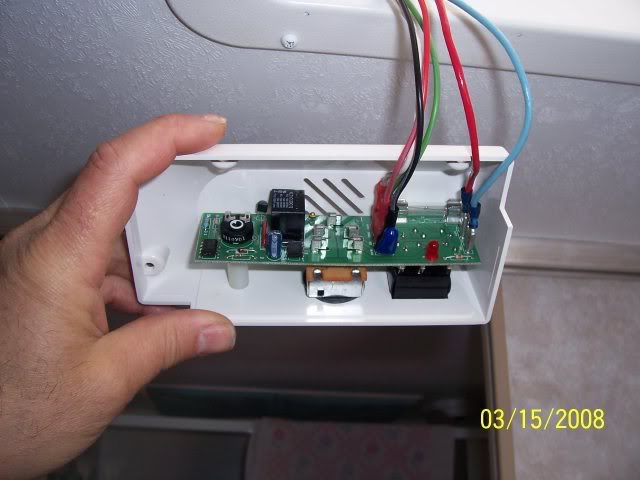
Give it a test fit and see if the holes line up to your marks. If so then pilot drill the holes.
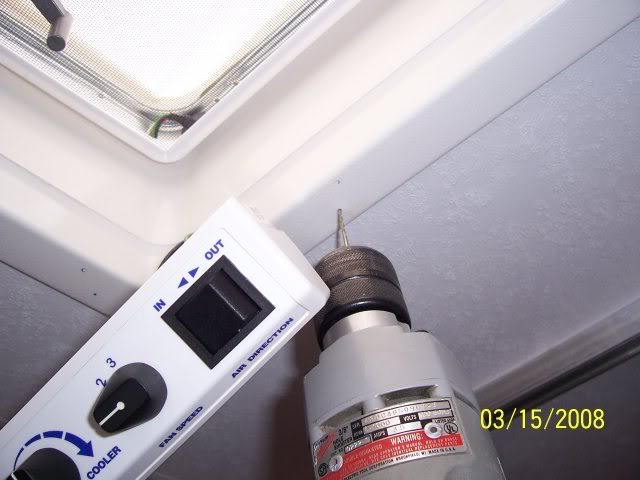
Here is a top pic. You can see how the wire sneak in to the top of the control unit and then under that backing plate. Getting the wires all put up in there is the hardest part of this install, believe it or not. Use nice flexible power wiring. The wire insulation type I used was more of a THHN type and stiff. I happened to have a couple rolls of it so I used it verse buying new. And these are fed with 14 awg wire, same as what I hooked up to in the camper. In my case I taped into the old bath exhaust fan wiring.
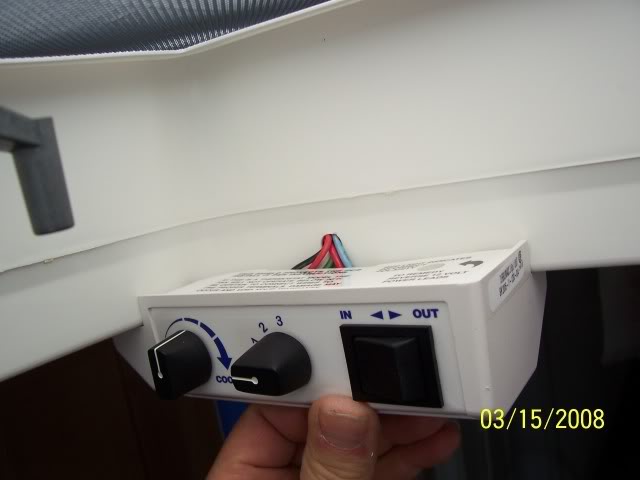
And the control module fully installed.
If this is your first one to ever install, be prepared for about 3 to 4 hours of dry roof time. Just getting the ladder and stuff ready is a lot of the time.
Inside work is about 1 to 2 hours.
Hope this helps.
John


 Linear Mode


