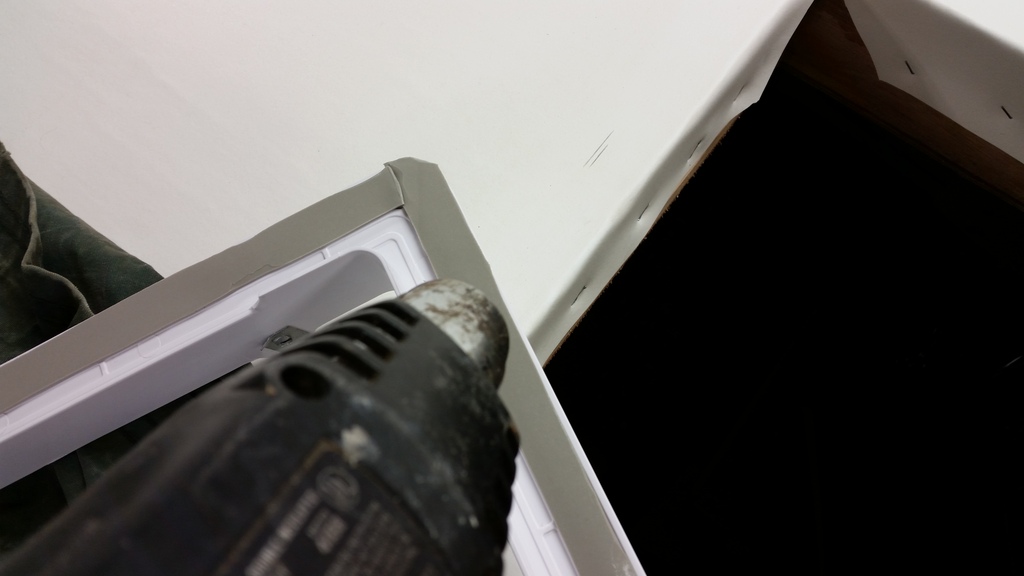
Remove the silicone tape and apply some heat to the butyl to create a good bond. Make sure that the screw clips are on the sides of the camper. Screw down the flange with the screws provided, be careful not to over tighten this flange is plastic and will crack or crack over time if there is to much point pressure.
[/URL][/IMG]
[/URL][/IMG]
Next is to hook up the electrical power to the fan. This may require some prep work to run 12v power and ground to you fan location. If you are replacing a vent with a whiz fan or other vent that has a 12v accessory you can reuse the power wires from that. In our case this was being installed in a vent without prior power. I did a little ahead planning and when we had the roof off I ran power wires in between the rafters to prep for this. Chances are in most cases this wouldnt be an option and the best way to run power will depend on your floor plan.
After you have power to the vent hole simply crimp the provided insulated wire connectors on the fan and power and ground wires from the trailer. I think they give disconnect type terminals to make it easy to remove form the roof for service and cleaning.

[/URL][/IMG]
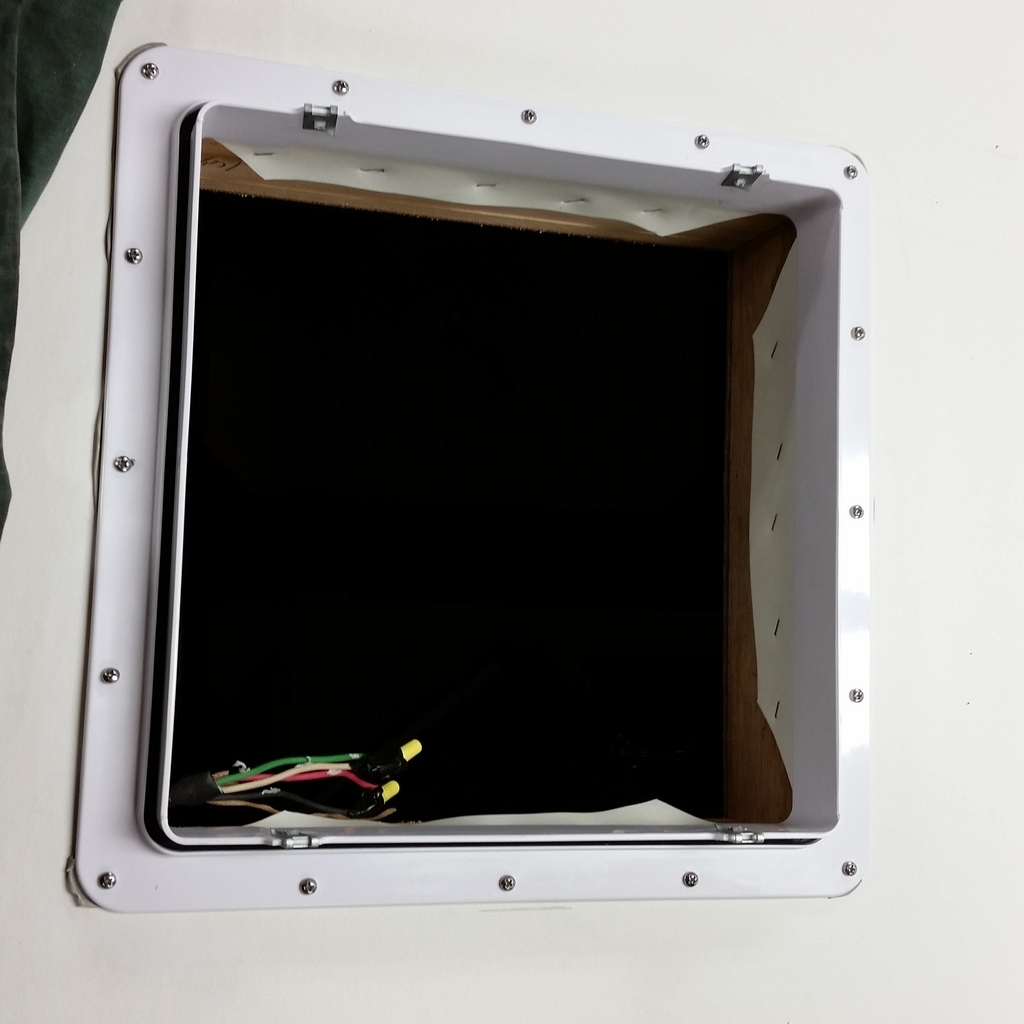
The flange and the screw heads will need to be caulked with Dicor to seal the flange/roof from the elements. This is easier without the main unit on, it is sealed to the flange with a built in gasket and the unit can be taken on and off without having to disturb the caulk.
To install the main unit to the flange, open the vent by turning the black knob (or remote if optioned), and flip the entire unit over and place it on the flange letting the wires fall into the hole inside. Secure the unit to the flange with the 4 screws that are provided, there are two each on the left and right side of the unit. (screws not installed in pic)
[/URL][/IMG]
Inside the camper take the dangling wires and nicely tuck them up to the side or poke them back into the roof between the stud and install the new trim garnish with the 4 screws provided. Note the trim garnish may need to be trimmed depending on roof thickness refer to provided instructions for trimming. I got lucky and no trimming was necessary.


[/URL][/IMG]

[/URL][/IMG]
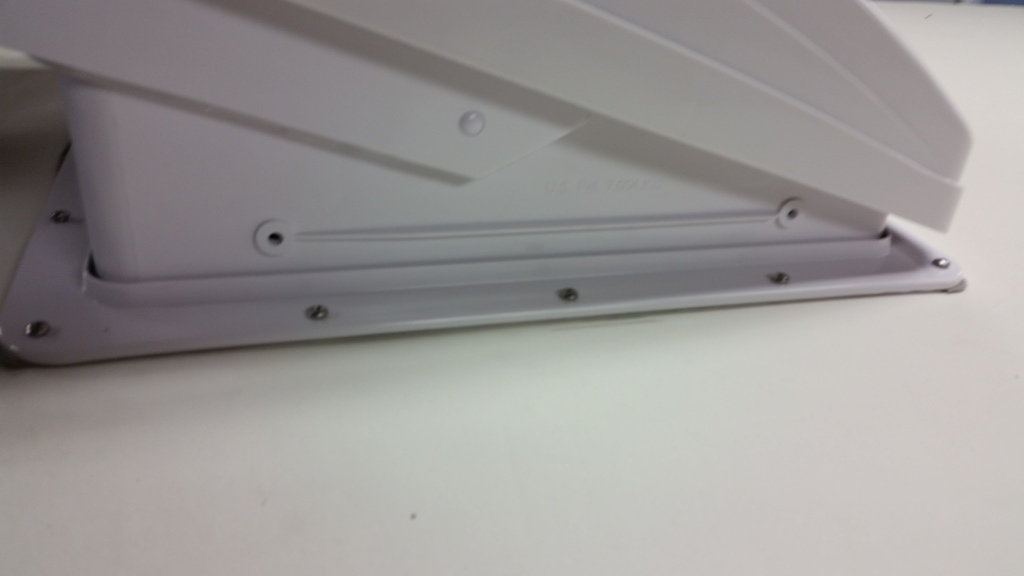
This what it looks like on the roof when done open and closed.(Note in pics the flange was not caulked yet.

[/URL][/IMG]

__________________
Current Camper: 2006 Sunline T-264SR
Previous Camper: 1998 Coleman Mesa
Tow Vehicle: 2002 Chevrolet Avalanche 2500, 8.1L, 4X4
DirecLink Brake Controller, Draw-Tite Ultra Frame Receiver, Reese HP Trunnion Bar Hitch W/ HP DC


 [/URL][/IMG]
 [/URL][/IMG]
 [/URL][/IMG]
 [/URL][/IMG]
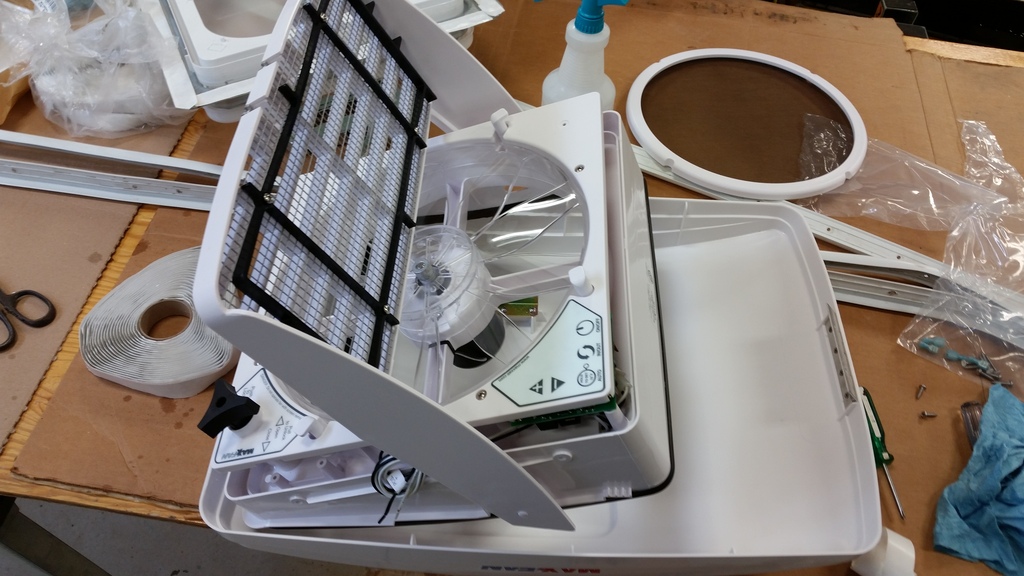 [/URL][/IMG]
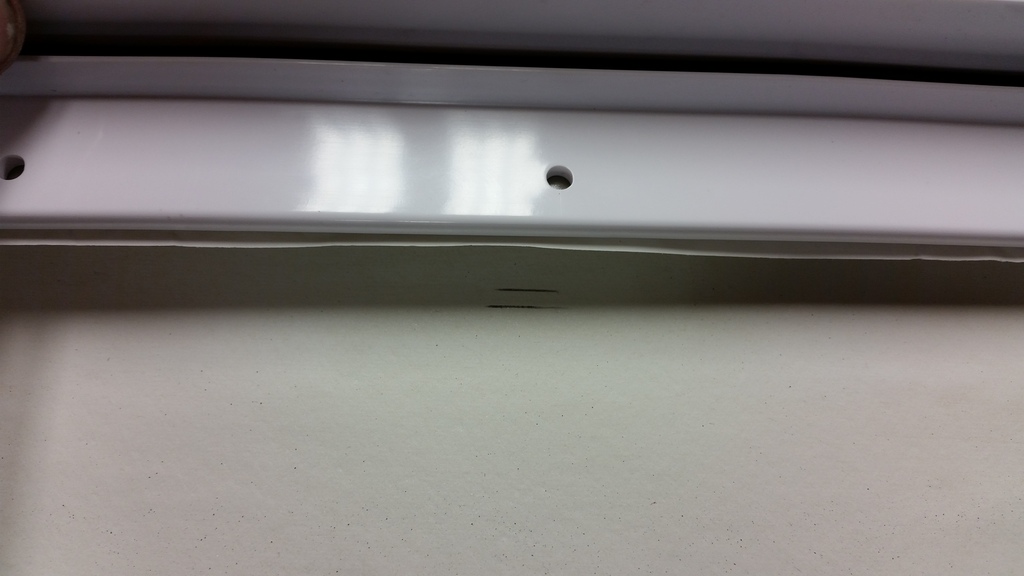 [/URL][/IMG]


 Linear Mode


