Finally finished up installing the rock guard.
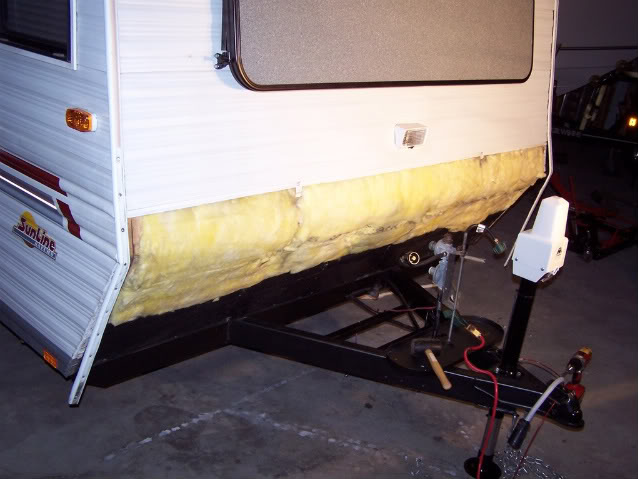
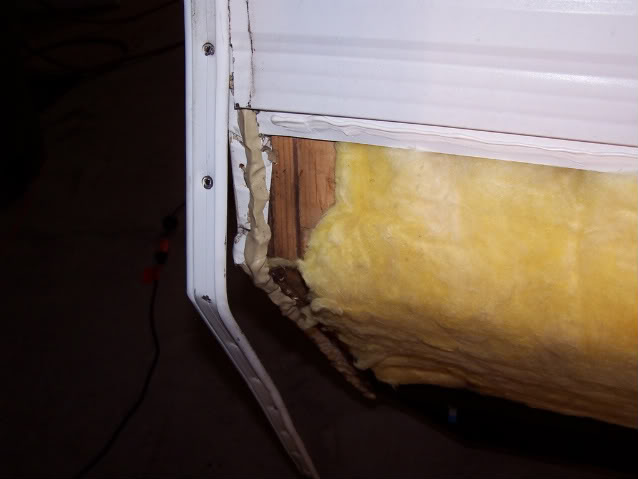
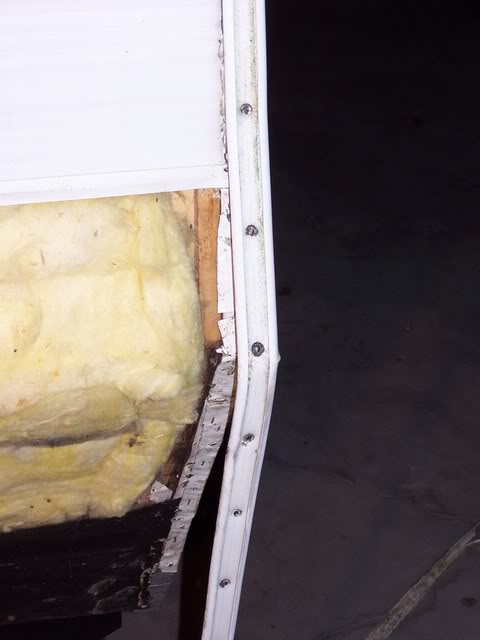
After breaking apart and removing all the vinyl trim that covers the edge trim screws, I started at the bottom and edges and removed all the sheet screws that held the bottom siding row above the tongue and the screws holding side edge trim. Once I freed the trim on the front corners it allowed me to pull the siding staples and remove 3 sections of the siding. This brought me up to the 1st row of coated aluminum on the front just below my courtesy light. I went higher on the edge trim removing the hex screws so I could have the play in the trim and get it out of the way to seat the new rock guard. I removed a lot of the dirty plumbers putty off the trim and used a hammer/mallet to get the bent aluminum from the sides back flush along the front edges.
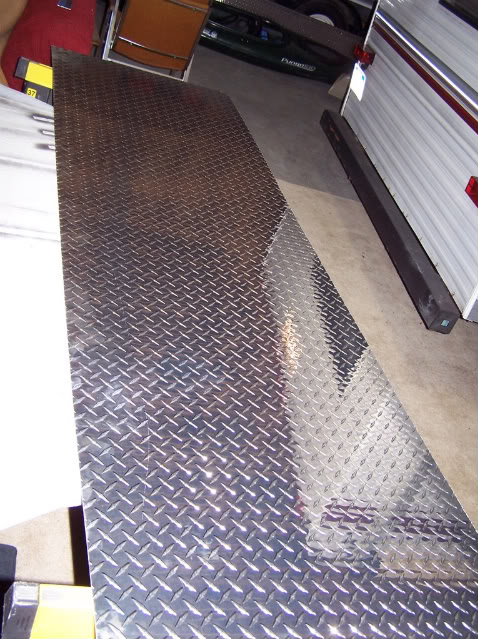
I picked up a 4x8 sheet of polished diamond plate aluminum 14ga. My width was 94 even all the way up with the bend starting @ 22 ¼ with a 5 3/8 lip to the inside groove of the siding on the passenger. The drivers side bend started again @ 22 ¼ but was 6 ½ to the inside groove of the siding. I laid out the sheet and used a jig saw with a fine metal blade to cut the dimension out after tracing the back with a red sharpee. I did the same with the line to mark where I wanted the bend. I used a speed square on the edge of the camper and found the bend needed to go 35 degrees off plane to get to the groove of the existing aluminum siding. After I cut the proper size I taped some paper on it to protect the mirror side for transporting it leaving the bend line exposed. I took it to a machine shop and it was bent in 7 mins ( and the guy had to roll the dyes on the press!)
$25 and it would have been cheaper or free if Id have bought the metal off them.
I dry fitted it and everything looked decent so I unwrapped it and applied a bead of marine sealant to the area just below the siding groove where the back top of the rock guard slides up and in. I re puttied the trim edge inside corner and also the front downward edges of the camper.
I did the same on the top back of the new rock guard to guarantee a good seal when the guard was seated.

I also used tube of black silicone on the lower edge where the bottom fabric raps up right along where the old line where the original screws tapped in. I put it on heavily enough on the camper that I did not repeat it to the bottom of the rock guard. I wouldve been much to messy doing the job myself if Id put more goop on the guard and tried to seat it.
After I seated it and was confident it was in place I drilled 2 holes just below the siding line I had premarked to a stud and put two sealing sheet metal screws. I then did the top of both corners using new stainless screws and washers to replace the old hardware inside the edge trim. I then went to the bottom center and put 3 screws in behind the propane carriage. After than I went back to the edge and went down every other hole till both edges were secure. I then went back to the bottom row above the tongue and finished those out from center to the edge. Back to fill the skipped holes in the trim edge and I was almost done. I always go back over everything with a screwdriver or hand driver and do a hand tight check on the screws to make sure theyre seated properly.
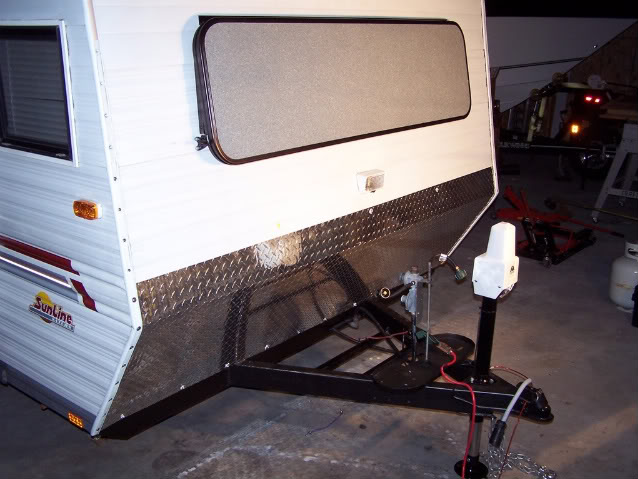
Ill go back and get the excess sealant from around the screws on the face of the guard after its dried. Once I get the new vinyl tape back into the edge trim and get some more sealant on this seam on both sides Ill be satisfied. Its hard to see in the picture but theres a void there on both sides.
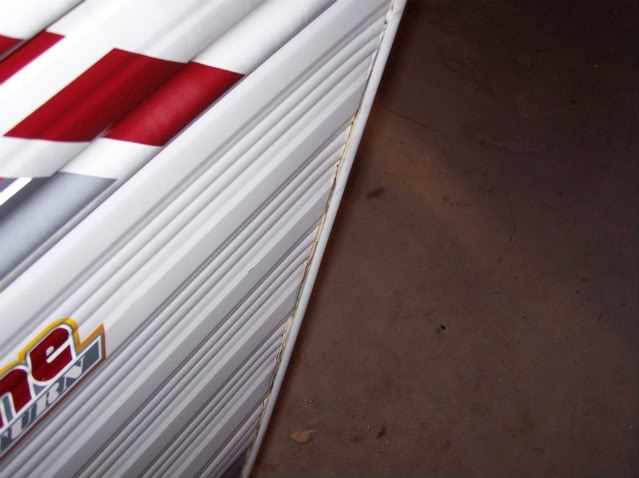
Im happy with it for my 1st time working with sheet aluminum and think it looks a lot better than the beat up aluminum siding that was there.
Thanks for looking,
Take care,
Jason


 Camco is one brand that makes it.


 Linear Mode


